How to Remove a Person in Photoshop: 4 Easy Methods
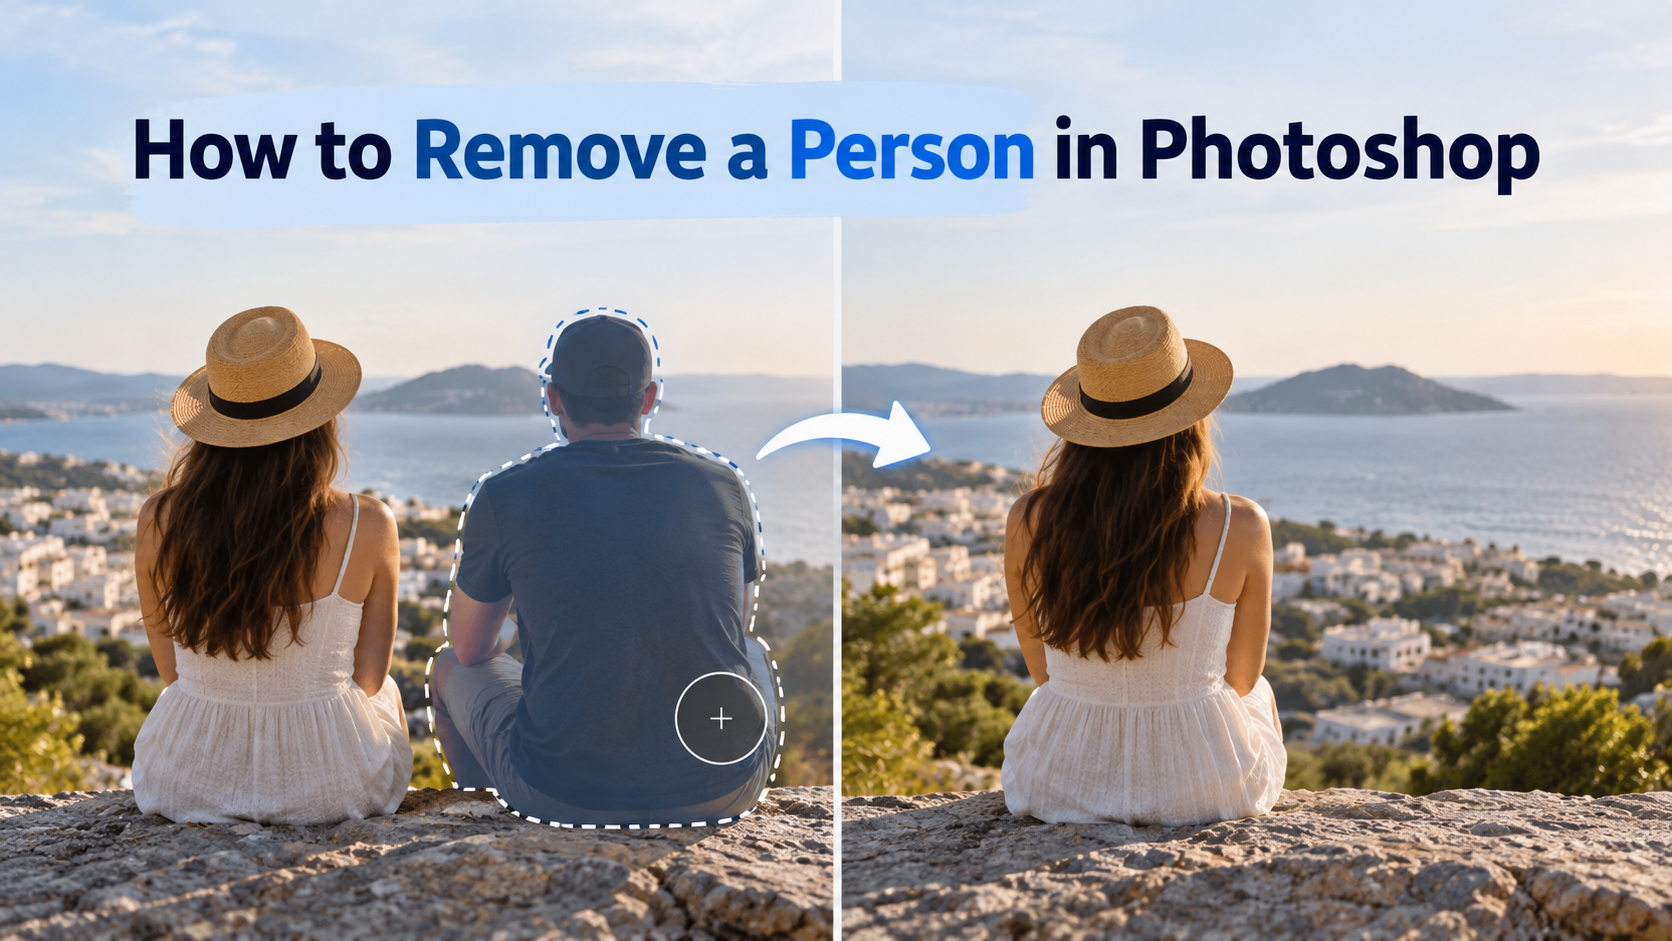
Learn four practical ways to remove a person in Photoshop, compare the best methods for different photos, and discover an easier AI alternative.
How to Remove a Person in Photoshop: 4 Easy Methods
A great photo can easily be spoiled by a stranger, tourist, or unwanted person in the background. Fortunately, Photoshop provides several tools that can remove people while rebuilding the missing background.
The best method depends on the photo. Simple backgrounds can often be fixed automatically, while busy scenes may need more manual editing.
In this guide, you will learn four practical ways to remove a person in Photoshop, including the Remove Tool, Generative Fill, Content-Aware Fill, and Clone Stamp Tool.
Which Photoshop Method Should You Use?
Before editing, choose the method that matches your image.
| Method | Best For | Difficulty |
|---|---|---|
| Remove Tool | Small people and simple backgrounds | Easy |
| Generative Fill | Large people and complex scenes | Easy |
| Content-Aware Fill | Backgrounds with repeating textures | Medium |
| Clone Stamp Tool | Detailed manual corrections | Medium–Advanced |
For most beginners, the Remove Tool or Generative Fill is the easiest place to start.
Method 1: Remove a Person With the Remove Tool
Photoshop's Remove Tool is one of the quickest ways to erase an unwanted person.
It works especially well when the person is standing in front of a relatively simple background such as a wall, beach, grass, or sky.
Step 1: Open Your Photo
Open the image in Photoshop and create a duplicate layer.
Working on a duplicate helps protect the original photo if you need to undo major changes later.
Step 2: Select the Remove Tool
Choose the Remove Tool from the toolbar.
Adjust the brush size so it is slightly larger than the area you want to erase.
Step 3: Brush Over the Person
Paint over the unwanted person.
Make sure to cover the entire body, edges, and visible shadow. Photoshop will analyze nearby pixels and replace the selected area.
Step 4: Check the Background
Zoom in and inspect the result.
If small artifacts remain, brush over them again.
Best for: quick edits, tourists in the background, small distractions, and simple scenes.
Method 2: Remove Someone With Generative Fill
For larger people or more complicated backgrounds, Generative Fill can often create a cleaner result.
Instead of simply copying nearby pixels, it can generate new background details that match the surrounding scene.
Step 1: Select the Person
Use the Object Selection Tool or another selection tool to highlight the person.
Try to include clothing, hair, shoes, and nearby shadows.
Step 2: Expand the Selection
Expand the selection slightly beyond the person's outline.
This gives Photoshop more room to rebuild the missing area and helps avoid visible edges.
Step 3: Use Generative Fill
Click Generative Fill and generate the replacement background.
For simple removal, you usually do not need to enter a detailed prompt.
Step 4: Compare the Results
Photoshop may provide several variations.
Choose the version that best matches the original background.
Tip: If the result looks strange, try selecting a smaller area and regenerating it instead of editing a very large section at once.
Method 3: Remove a Person With Content-Aware Fill
Content-Aware Fill is useful when you want more control over which parts of the image Photoshop uses to rebuild the background.
It works particularly well with repeating textures such as:
- Grass
- Sand
- Sky
- Pavement
- Plain walls
- Trees or foliage
Step 1: Select the Person
Use the Object Selection Tool, Lasso Tool, or another selection method.
Leave a small amount of space around the person.
Step 2: Open Content-Aware Fill
Choose Edit > Content-Aware Fill.
Photoshop will show the image area it plans to use as a reference.
Step 3: Adjust the Sampling Area
Remove areas that should not be used for rebuilding the background.
For example, avoid sampling another person, a nearby object, or an unusual shadow.
Step 4: Output the Result
Apply the fill and place the result on a new layer when possible.
This makes additional cleanup easier.
Method 4: Use the Clone Stamp Tool
Automatic tools are fast, but they do not always understand important details such as straight lines, building edges, fences, or patterns.
In those cases, the Clone Stamp Tool gives you more control.
How It Works
The Clone Stamp Tool copies pixels from one part of the photo and paints them over another area.
Choose a clean part of the background, sample it, and carefully paint over the remaining unwanted details.
This method is especially useful for:
- Building edges
- Floor tiles
- Railings
- Walls with patterns
- Hair overlapping another object
- Small artifacts left by AI tools
You do not always need to remove the entire person with Clone Stamp. It is often better to use an automatic tool first and then use Clone Stamp for final cleanup.
How to Remove a Person Without Photoshop
Photoshop gives you a lot of control, but it may be unnecessary if you only need a quick edit.
An AI person remover or object remover can provide a simpler workflow:
- Upload your image.
- Select or mark the unwanted person.
- Generate the cleaned photo.
- Download the result.
This approach is useful for users who do not want to learn Photoshop tools or spend time repairing the background manually.
For simple photos, an AI tool can often complete the entire process in just a few clicks.
Photoshop vs. AI Person Remover
Both options can work well, but they are designed for different needs.
| Photoshop | AI Person Remover |
|---|---|
| More editing control | Faster workflow |
| Better for difficult details | Easier for beginners |
| Supports manual corrections | Usually automated |
| Requires more editing knowledge | Little experience needed |
| Good for professional retouching | Good for quick edits |
Choose Photoshop when the image contains complicated structures or when you need precise control.
Choose an AI person remover when speed and simplicity are more important.
Why Does the Background Look Strange After Removing Someone?
Removing the person is only half of the job. The repaired background must also look natural.
Several common problems can appear.
The Shadow Is Still Visible
A person may be removed while their shadow remains.
Include the shadow in your original selection or remove it separately.
The Background Looks Blurry
This usually happens when Photoshop has too little useful background information.
Try making a smaller selection or using Clone Stamp to restore important details.
Objects Are Duplicated
Content-aware tools sometimes copy nearby objects into the empty area.
Select a cleaner sampling area or regenerate that section.
Straight Lines Look Broken
This commonly happens with buildings, fences, doors, or furniture.
Use the Clone Stamp Tool for precise corrections after the automatic removal.
Tips for Better Person Removal
A few small adjustments can make the final image look much more natural.
- Select slightly beyond the person. Do not create a selection that follows the body too closely.
- Remove shadows and reflections. They can reveal where the person originally stood.
- Edit large areas in smaller sections. Photoshop usually produces more consistent results when it has less space to rebuild.
- Zoom in before finishing. Look for repeated textures, blurry edges, or strange objects.
- Keep important background lines straight. Pay extra attention to buildings, furniture, fences, and roads.
Which Method Is Best?
There is no single Photoshop tool that works perfectly for every photo.
For a simple background, start with the Remove Tool. For larger subjects or more complicated scenes, Generative Fill can often produce better results.
Use Content-Aware Fill when you want more control over the background source, and finish difficult areas with the Clone Stamp Tool.
If you only need a quick edit and do not need advanced control, an AI person remover can be a faster alternative to Photoshop.
The key is not only removing the person, but also making sure the repaired background looks natural enough that viewers cannot tell anything was removed.