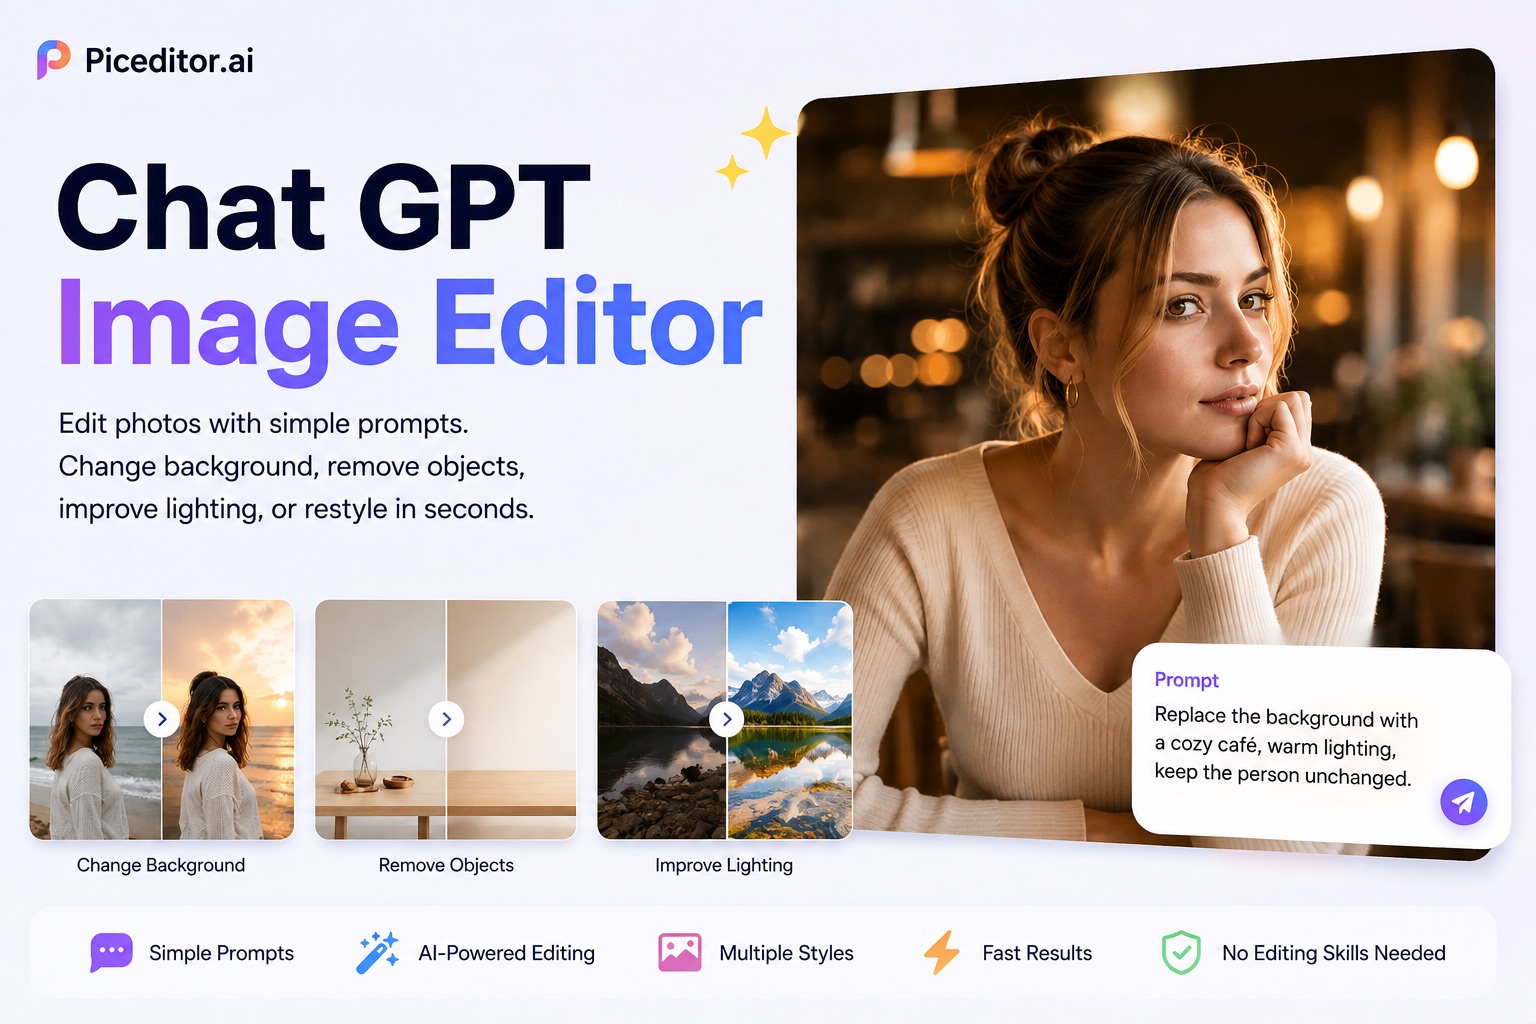
Try Qwen Image 2.1 Online—No ComfyUI Setup Required
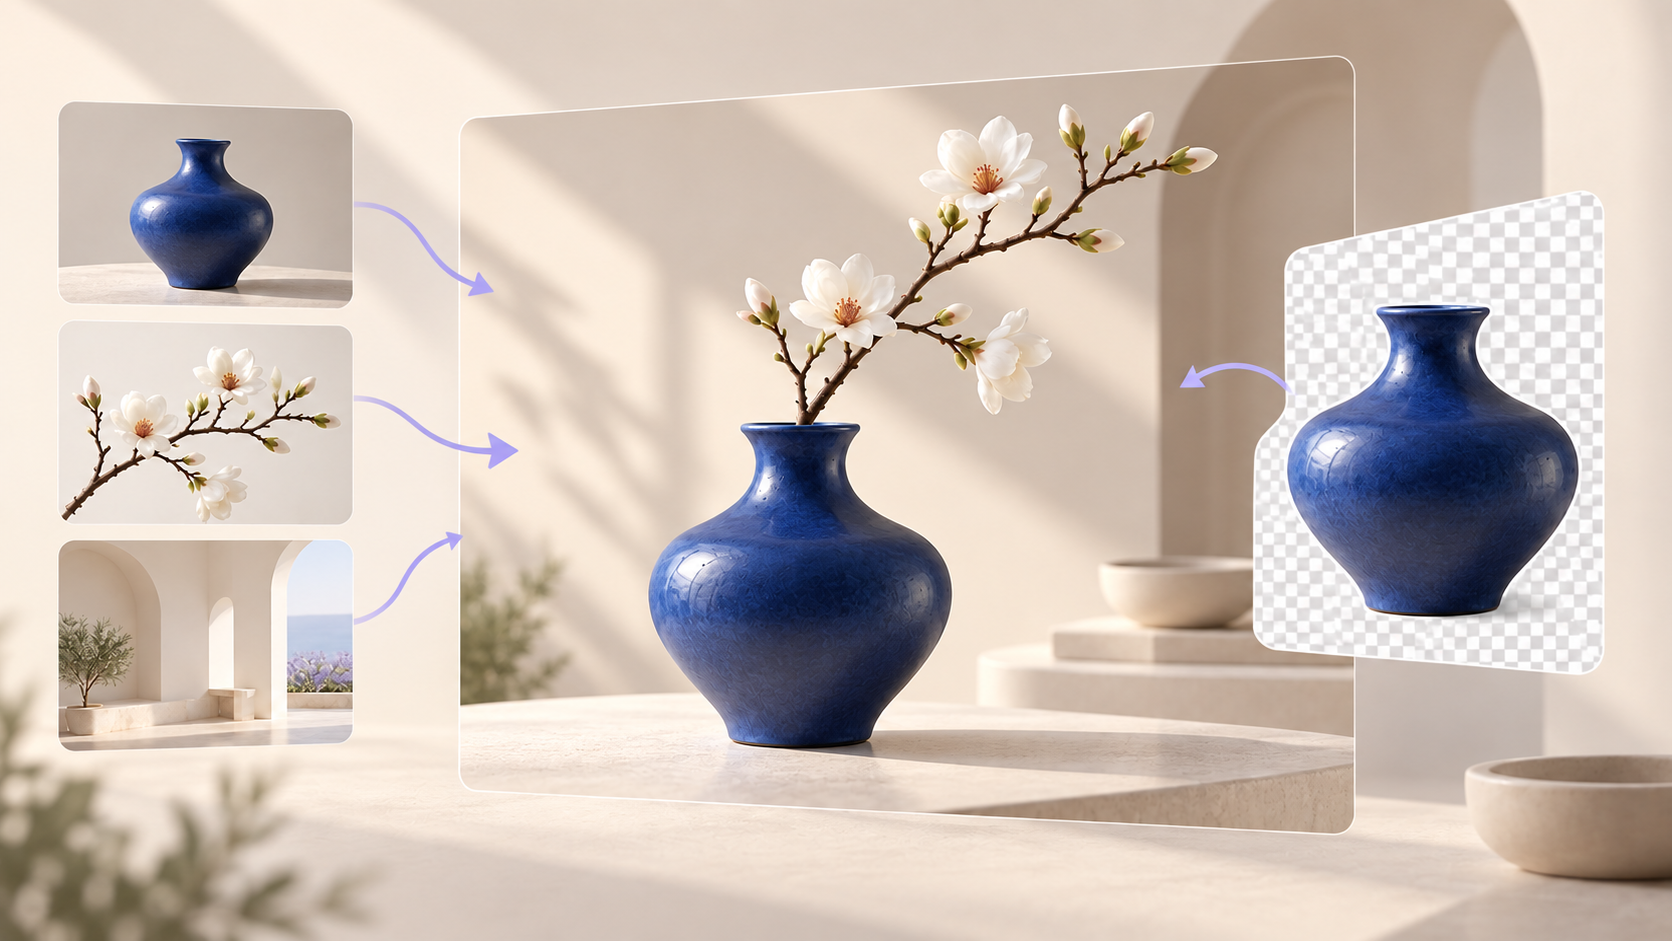
Explore what Qwen Image 2.1 can do, from transparent assets to edits guided by multiple references. Then start with one photo on PicEditor: upload your image, describe the change, and generate a new direction in your browser, without downloading model files or building a local workflow.
You have a photo you want to change. Maybe the background feels wrong, the lighting is flat, or you want to see the same subject in a completely different setting. You should be able to start with that idea.
With Qwen Image 2.1 on PicEditor, you can begin in your browser. Open the editor, sign up or log in, upload a photo, and describe your edit. There is no local model installation or ComfyUI workflow to build before you begin.
Open Qwen Image 2.1 on PicEditor →
Start with one image and one change. The prompts below will help you choose your first experiment.
What makes Qwen Image 2.1 worth trying?
Released on September 20, 2026, Qwen-Image-2.1 brings image generation and editing together. Its visual generation component has 7 billion parameters; Qwen emphasizes efficiency alongside image quality. The official release announcement highlights transparency, multiple references, local editing, and improved visual detail.
For someone editing photos, those capabilities suggest a useful question: how much of your idea can you communicate with a source image and a clear sentence?
Here are the strengths to explore, and how to make each one useful.
1. Transparent backgrounds for reusable visual assets
The model can generate transparent images, edit transparent layers, and extract a subject from a photograph. Its official model card documents RGBA output—the “A” is the alpha channel that stores transparency.
Think of an illustrated character you want to place over several backgrounds, or an isolated object you want to reuse in different layouts. Keeping that asset separate gives you more room to experiment with the composition.
Prompt idea:
Isolate the blue ceramic vase from this photo. Preserve its full outline, handle, color, and glaze. Make everything outside the vase transparent, with an alpha channel. Keep the rim and base intact. Do not add a white background or a checkerboard pattern.
When you need a reusable cutout, check the downloaded file over both a light and a dark background. A picture of a checkerboard is not actual transparency.
2. Up to 10 reference images for more specific compositions
Qwen documents support for up to 10 reference images. Its examples include combining individual portraits, assembling an outfit, and arranging furnishings in a room. These examples appear in the official Qwen Image 2.1 announcement.
References let you show what you mean. Instead of trying to describe every curve of a chair or detail of a jacket, you can assign each image a role in the scene you want to create.
Prompt idea for a supported multi-image workflow:
Use image 1 as the room and keep its camera angle, windows, and proportions. Replace the existing chair with the chair in image 2. Place the lamp from image 3 beside it. Match the scale, perspective, and daylight. Keep the rest of the room unchanged.
Begin with two or three well-chosen references. Add more only when each supplies information the composition needs.
Feature availability: ten-image input and RGBA are model capabilities. PicEditor’s available upload controls and export options determine which workflows you can use on the site. Start with the photo-editing controls shown in the editor.
3. Focused changes that preserve the subject
Qwen reports improved preservation of faces and product details, plus local editing guided by circles, painted annotations, or separate masks. These are documented in the official model card.
For a first edit, make the desired change small and the preservation instructions explicit. If you like the subject, say exactly what should stay.
Prompt idea:
Replace the background behind this bag with a warm ivory studio wall. Keep the bag’s shape, stitching, hardware, color, and lettering unchanged. Preserve the original camera angle. Add a soft contact shadow beneath the bag and leave open space above it.
Compare the result against your source before making the next change. Pay particular attention to lettering, outlines, and small features that define the object.
4. More expressive text, lighting, and visual detail
The release also emphasizes typography, portrait lighting, and fine detail, with examples spanning infographics and storyboards. See Qwen’s visual examples.
Try giving the image a clear visual brief: a mood, a light source, a composition, and a small amount of exact text. “Make it better” leaves many decisions open. “Use soft window light from the left and a quiet beige background” gives you a result you can judge.
Prompt idea:
Turn this flower photo into a minimal square poster concept. Keep the flowers recognizable. Use a pale cream background and generous empty space. Add the exact headline “SUNDAY BLOOMS” at the top in dark green lettering. Include no other text.
Proofread the result at full size. For an early concept, a short headline is a useful starting point.
How to use Qwen Image 2.1 on PicEditor
You can move from reading about the model to trying your own image through the PicEditor Qwen Image 2.1 page.
- Open the editor and select “Log in / Sign Up.” Create an account or use your existing login.
- Upload a clear source photo. The page accepts JPG or PNG files up to 10 MB.
- Describe your change. Name what to change, what to preserve, and the visual direction you want.
- Choose an image size. Visible options include square, portrait, and landscape formats. Leave the optional advanced settings alone for your first attempt.
- Check the required credits and select “Generate Image.” Review the result against your source, then refine the prompt if needed.
For an easy first test, use a photo of an object with a clear outline. Ask for a new background while keeping the object unchanged. This makes it easier to see what the edit achieved.
Create your PicEditor account and try your first edit →
A simple prompt formula you can reuse
Write your instruction in three parts:
Change this + preserve this + make it look like this.
For example:
Change the wall behind the person to a soft gray studio background. Preserve the face, expression, hairstyle, clothing, and pose. Use gentle natural light and realistic skin texture.
If a result changes too much, narrow the next instruction. Instead of asking for new clothing, lighting, scenery, and a different pose together, start with the background. Keep the version you like, then decide what would improve it further.
Before generating, ask yourself: “What would make this edit successful?” A sharper brief might be “the same vase against a warmer background,” or “the same room with a blue chair.” That gives you a concrete reason to keep, revise, or discard a result.
Qwen Image 2.1 online or a local ComfyUI workflow?
The official repository confirms ComfyUI support and provides routes for local deployment. That is useful when you want to build and control your own workflow.
For a first photo edit, PicEditor offers a direct browser entry point. You can spend that first session choosing an image and refining a prompt, without downloading model weights or setting up a local runtime.
Choose the route that fits your immediate goal. If you want to explore what happens to your own photo, start in the browser. You can investigate local deployment later if you need it.
Qwen Image 2.1 pricing on PicEditor
As checked on September 22, 2026, the PicEditor editor displayed 15 required credits with its default settings. Check the current amount before generating; account allowances and selected settings may affect your experience.
For plan details, visit PicEditor pricing. Use any available account allowance to test an edit you actually care about before deciding how much you want to create.
Frequently asked questions
Do I need ComfyUI or a powerful local GPU?
You do not need to set up either to use PicEditor’s browser editor. Start from the model page and follow the upload-and-prompt workflow above.
Is Qwen Image 2.1 freely available for any use?
The weights are available, but the Qwen Research License limits the standard grant to non-commercial purposes and requires a separate license for commercial use of the model materials. For hosted use, consult the service’s applicable terms; downloadable weights do not establish unrestricted commercial rights.
Will every detail stay exactly the same?
Treat preservation as something to inspect. Compare the face, shape, text, and edges with your source. Explicit preservation instructions make your intention clearer, but the finished image still needs review.
Give your next photo a new direction
The most useful way to explore Qwen Image 2.1 is with an image you already want to improve. Choose a background change, a lighting idea, or a new visual style. Keep the first instruction focused so you can see what changed.
Open Qwen Image 2.1, sign up, and start editing on PicEditor →
Bring one photo. Choose one change. See where it takes you.