Qwen Image 2.1 ComfyUI Guide: From Model Downloads to Your First Edit
Get Qwen Image 2.1 running in ComfyUI with the right model files and official workflows. This guide walks through setup, memory planning, text-to-image generation, reference-image editing, and transparent PNG output, then explains how to troubleshoot missing nodes, slow runs, and unexpected results.
Last checked: September 21, 2026. Instructions are based on official repositories, workflow files, and documentation. This is a source-verified setup guide; the workflows have not been GPU-tested for this article.
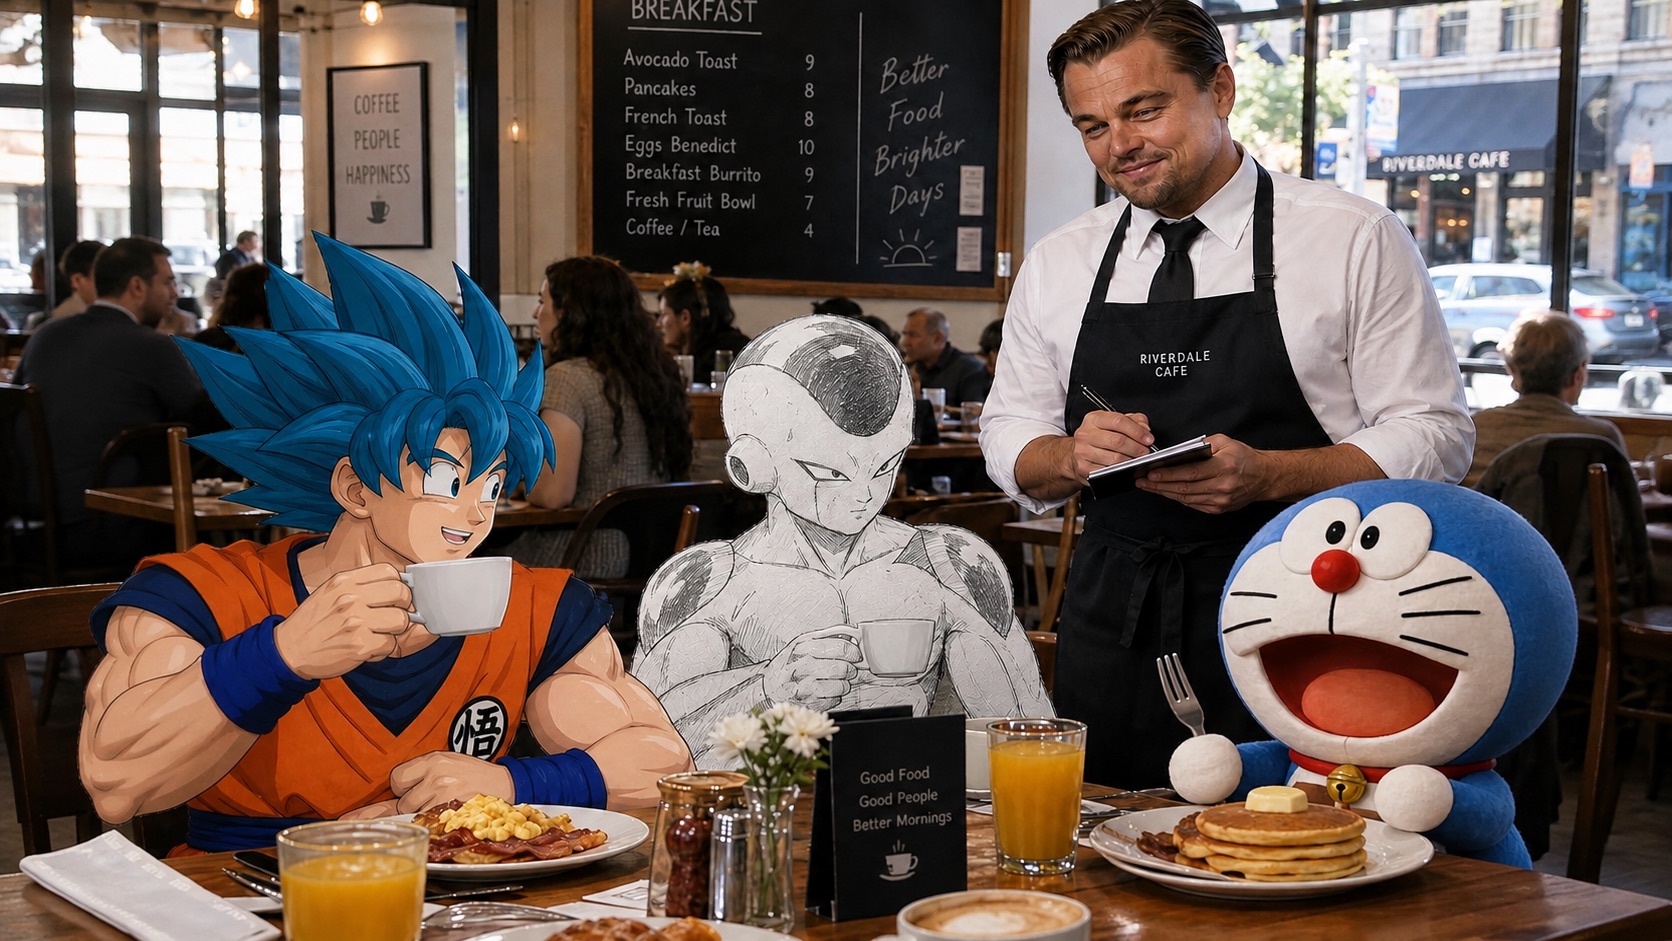
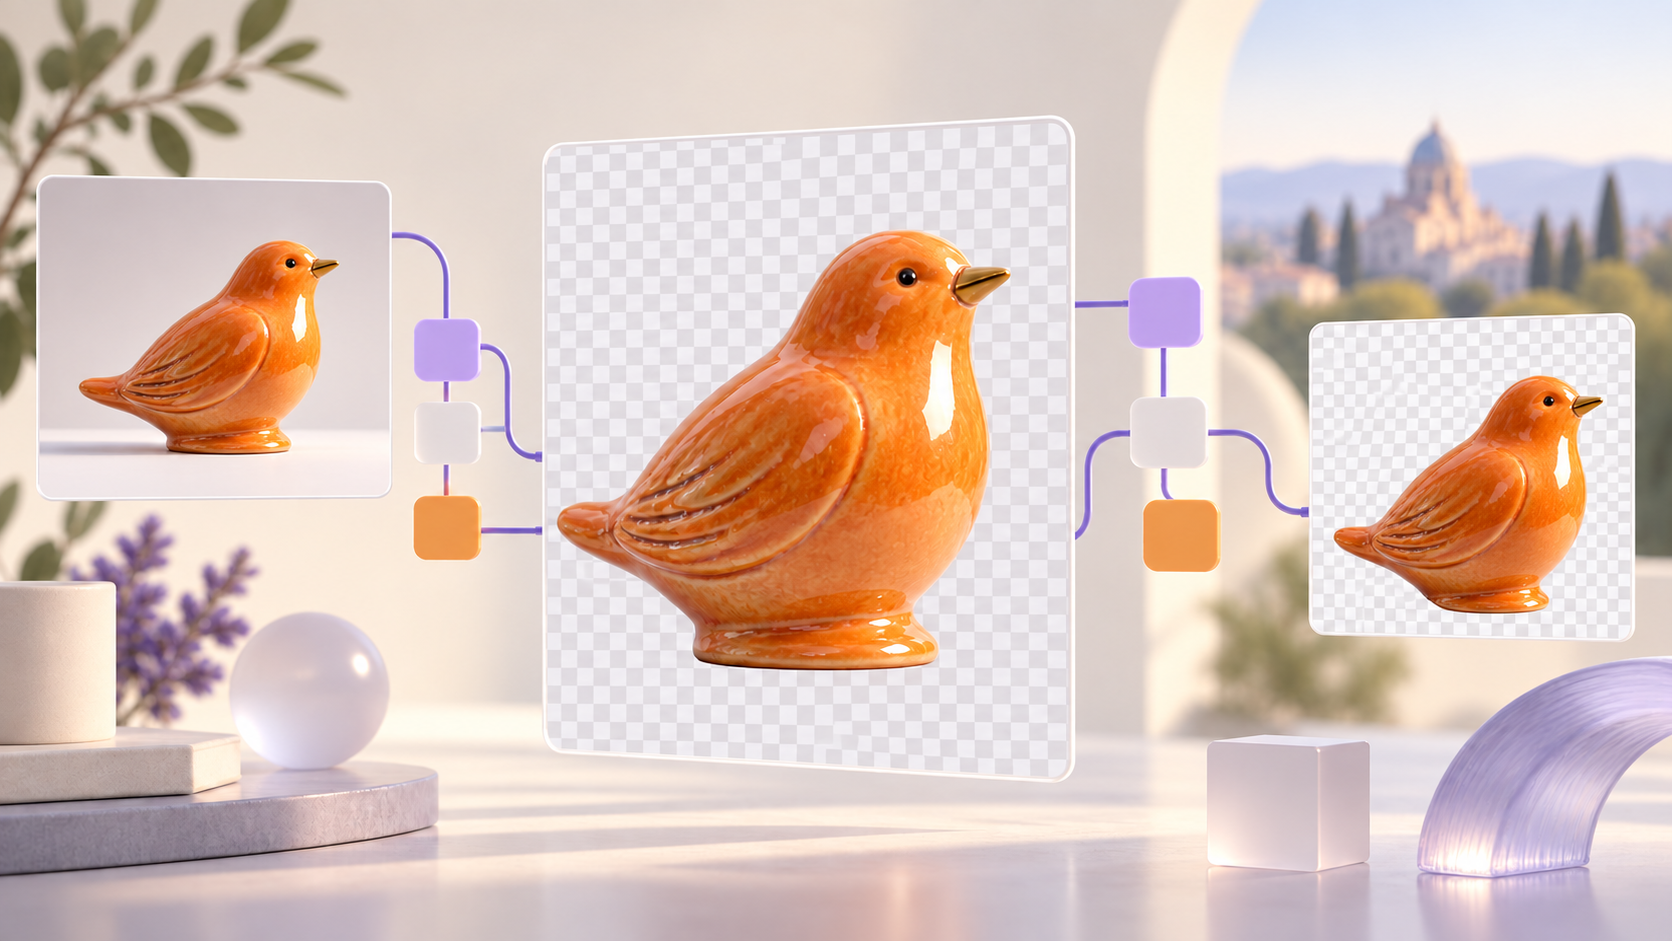
AI-generated editorial cover, created with ImageGen. It is not a Qwen Image 2.1 output or a ComfyUI screenshot.
Qwen Image 2.1 ComfyUI support is already available, with official workflows for text-to-image generation and image editing. You can run the model locally using downloadable weights. The useful starting point is a supported ComfyUI build, three matching model components, and the official template for your task.
Qwen released the model on September 20, 2026, and confirmed day-zero native ComfyUI integration in its official repository. Its unified generation and editing capabilities make it appealing, but getting the files, version, and image sizes right matters more than adding extra nodes at the beginning.
For the fastest route through this guide, follow sections 1–4 for your first image. Continue to section 5 for reference-image editing or section 6 for transparent PNGs.
1. Choose the right Qwen Image 2.1 ComfyUI starting point
Start with the Comfy-Org model package, which contains files repackaged for ComfyUI. The original Qwen repository also documents a Diffusers Python pipeline; those Python installation instructions are a separate route and are not prerequisites for this ComfyUI tutorial.
| Your immediate goal | Start here | First successful result |
|---|---|---|
| Generate an image from a prompt | Official text-to-image workflow | One saved 1024 × 1024 image |
| Change an existing image | Official image-edit workflow | One controlled edit using a single input image |
| Make a transparent sticker or cutout | Text-to-image workflow, then the transparency instructions below | A PNG with a working alpha channel |
| Try the model before installing locally | Qwen's official demo | A browser-based capability check; availability depends on the hosted service |
The two official workflows use native ComfyUI functionality. A custom node pack is not part of the basic setup described here. Downloading a different community workflow can introduce different requirements, so establish a working official baseline first.
What is new enough to justify testing?
Qwen documents a unified model for image creation and editing, native transparency, and support for up to ten reference images. For a ComfyUI user, this means one model can cover an initial generation, a reference-guided revision, and a transparent asset experiment. These are model capabilities, not promises that every prompt will succeed; see the official model card and examples.
2. Plan your downloads and memory before installing
“7B” does not describe the whole memory footprint
The 7B figure refers to the visual generation component. Qwen also documents a Qwen3-VL 8B text-and-image encoder and a separate VAE, the component that converts the model's internal image representation into pixels. All three matter when planning a local installation. The architecture description identifies these components separately.
VRAM is your graphics card's memory; system RAM is the computer's main memory. A downloaded file's size is neither a minimum VRAM specification nor the peak memory used while generating an image.
Download these three files for the official template defaults
The checked templates select an INT8 diffusion model and an INT8 text encoder. INT8 is a quantized representation: it stores model weights more compactly than the BF16 alternatives.
| Component | Direct download | Approximate file size | Destination under ComfyUI/models/ |
|---|---|---|---|
| Image generation model | qwen_image_2.1_int8_convrot.safetensors | 7.26 GB | diffusion_models/ |
| Text and image encoder | qwen3vl_8b_int8_convrot.safetensors | 9.35 GB | text_encoders/ |
| Image decoder | qwen_image_2.1_vae_bf16.safetensors | 0.68 GB | vae/ |
These three downloads total approximately 17.28 GB, using decimal GB. Leave additional disk space for ComfyUI, its dependencies, input images, and results. Sizes were calculated from the official repository file listing; they are storage figures, not a VRAM requirement.
Your folders should look like this:
ComfyUI/
└── models/
    ├── diffusion_models/
    │   └── qwen_image_2.1_int8_convrot.safetensors
    ├── text_encoders/
    │   └── qwen3vl_8b_int8_convrot.safetensors
    └── vae/
        └── qwen_image_2.1_vae_bf16.safetensors
Download one version of each required component. You do not need every weight file in the repository. A whole-repository download can include alternatives you will never select.
BF16, INT8, W4A8, or GGUF?
For a first run, use the INT8 pair above because it matches the official templates. Keep loader precision controls at their template defaults.
The official repository also lists BF16 alternatives: approximately 14.23 GB for the diffusion model and 17.53 GB for the encoder. Together with the VAE, those files occupy about 32.44 GB. BF16 gives you a useful less-quantized comparison once the baseline works; it should not be treated as a guaranteed speed upgrade.
The qwen3vl_8b_w4a8.safetensors file is a smaller encoder alternative, approximately 6.31 GB. It replaces the encoder selection, not the diffusion model or VAE. Combining it with the INT8 diffusion model and the same VAE reduces download storage to about 14.24 GB. Smaller storage alone does not establish compatibility or speed on a particular GPU.
If you arrive here searching for Qwen Image 2.1 GGUF ComfyUI, treat GGUF as a separate loader path. The native templates linked above are configured for the listed .safetensors files. A GGUF tutorial must identify its own compatible loader and workflow; changing a filename in the native template is not a complete migration.
Can an 8 GB, 12 GB, or 16 GB GPU run it?
The official sources checked for this guide do not establish a universal minimum-VRAM table for these exact workflows. A reliable answer needs a specific GPU, software environment, weight combination, resolution, and workload. Multi-reference editing also needs a separate check from text-to-image generation.
Use this conservative test sequence rather than treating a GPU tier as a guarantee:
- Begin with the official INT8 pair, one output, and the 1024 × 1024 text-to-image template.
- Close other GPU-heavy applications and observe both VRAM and system RAM during the run.
- If the run fails, record whether it failed during loading, text encoding, sampling, or image decoding.
- Resolve that baseline before testing one reference image, larger outputs, or more references.
- If local testing is impractical, use the official demo to evaluate the model's capabilities separately from your hardware.
ComfyUI supports multiple hardware backends, but that platform support is not proof that every quantized file performs identically on NVIDIA, AMD, Intel, or Apple Silicon. Use the official system requirements for your installation path.
3. Update ComfyUI, then import the workflow
Update the environment you actually launch
Close ComfyUI before updating. Follow the path for your installation, then restart it:
| Installation | Update action |
|---|---|
| Windows Portable | Run update/update_comfyui.bat in the portable installation. This targets the development version; the similarly named stable updater follows releases. |
| Manual Git installation | Activate that installation's Python environment, change into its ComfyUI folder, then run the commands below. |
| Comfy Desktop | Use the engine update controls in the Manage panel. If available, select Latest on GitHub when the Stable channel lacks the required support. |
For a manual Git installation already following the appropriate branch:
git pull --ff-only
python -m pip install -r requirements.txt
These commands belong in the ComfyUI folder and its active Python environment. If Git reports a conflict or detached checkout, resolve that installation's branch state before proceeding.
ComfyUI's update documentation explains why updating the code alone can leave the frontend or templates behind. Desktop controls vary by version; if your build does not offer the needed channel, follow the Portable or Manual installation route linked from that documentation.
Load the official JSON
Open Templates in the sidebar, or Workflow → Browse Workflow Templates, and search for Qwen Image 2.1. ComfyUI's template guide documents this entry point and the missing-model download prompt.
If the template is not listed, download the JSON directly:
Save the raw file with its .json extension and drag it onto the ComfyUI canvas. Saving a GitHub HTML page as .json will not produce a valid workflow.
After placing the model files in their folders, restart ComfyUI if they are missing from the selectors. Select the exact filenames you downloaded. If you deliberately use subfolders, select the corresponding subfolder entry in each loader.
Find settings inside the subgraph
The official templates package several connected nodes into one larger node called a subgraph. If a loader, CFG control, or reference-resolution setting is hidden, double-click a blank area inside that subgraph or use its edit button. The official subgraph guide explains how to enter and leave this view.
Check the diffusion-model loader, the encoder's CLIPLoader, and VAELoader. The encoder loader's type is qwen_image. Keep the dedicated 2.1 VAE selected; an older file with a similar name is not the file requested by this workflow.
4. Generate your first image with the official settings
Load the text-to-image workflow and leave the connections intact. The following values come from the checked official template:
| Setting | Starting value |
|---|---|
| Aspect ratio | 1:1 (Square) |
| ResolutionSelector megapixels | 1 — 1024 × 1024 in this template |
| Dimension multiple | 32 |
| Steps | 25 |
| CFG | 1 |
| Sampler | euler |
| Scheduler | simple |
| Denoise | 1 |
| Batch size | 1 |
| Output | PNG, 8-bit, sRGB |
CFG controls classifier-free guidance. At the template's CFG value of 1, the negative prompt is unused. Leave it empty for the first run.
Replace the positive prompt with this original test prompt:
A studio product photograph of a cobalt-blue ceramic teapot on a warm
ivory tabletop. One curved handle, one spout, and a fitted round lid.
Soft window light from the left, a gentle shadow to the right, realistic
glazed ceramic, uncluttered background. No lettering or logos.
This is a suggested test, not a prompt with a verified result attached. Its simple subject makes errors easy to spot: check the handle, spout, lid, color, and lighting direction.
Click Run. When the workflow completes, inspect the save node's result and the local output folder. Save a copy of your working workflow before changing models or adding nodes.
Increase quality and resolution separately
First compare 25 and 40 steps at the same resolution and fixed seed. Then return to your preferred step count and increase output size. This separates a sampling change from a resolution change.
For square native 2K output, the template's instructions specify 1:1 and 4 megapixels, producing 2048 × 2048. That has four times the pixels of 1024 × 1024; it does not imply an identical fourfold change in runtime or memory.
The publisher's Diffusers example uses 40 steps, while the checked ComfyUI template starts at 25. Both are documented starting points for their respective paths. Do not describe one as a universally optimal setting.
5. Use the image-edit workflow without losing track of input size
Begin with one input image and one requested change. This is easier to evaluate than a ten-image composition.
- Load the official image-edit JSON.
- Upload your image into the first
LoadImagenode connected toimage_1. - Disconnect any unused sample reference input, including the template's second image if you are doing a one-image test.
- Keep
custom_sizeoff. - Enter the subgraph and set
TextEncodeQwenImage21→resolutionto1024for this initial test. - Keep the baseline sampler, scheduler, CFG, and step count, then run the edit.
Try an instruction that names both the change and what should remain:
In <image1>, change only the teapot's glaze from cobalt blue to deep
forest green. Preserve the teapot's shape, handle, spout, lid, camera
angle, tabletop, background, lighting, and shadow.
Compare the source and output side by side. The edit should be judged on preservation as well as the requested change; an attractive new image can still be a poor edit.
Why the reference-resolution control matters
In the checked edit template, the exposed resolution value starts at 0. In ComfyUI's Qwen 2.1 node implementation, zero preserves each reference's dimensions apart from rounding to multiples of 32. A value of 1024 instead resizes toward a pixel area of roughly 1024 × 1024 while preserving aspect ratio.
That means 1024 does not force every reference into a square. It is also different from the output width and height controls. With custom_size off, the output canvas follows the resized first image. Uploading a large photo while leaving reference resolution at zero can create a much heavier job than intended.
Setting 1024 here is this guide's conservative first-test recommendation, not the edit template's saved default. Once the edit works, increase the reference budget deliberately and inspect whether additional detail improves the result.
Reproduce the official two-image setup
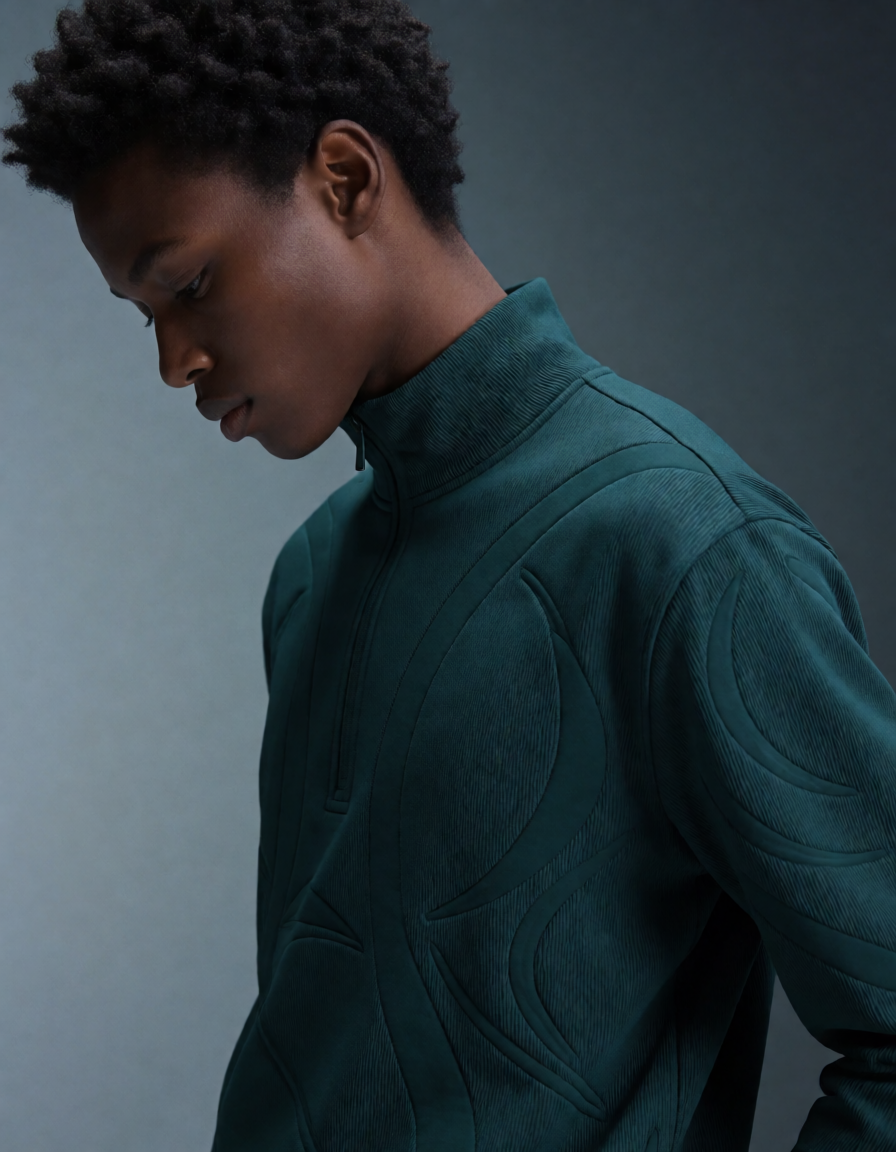
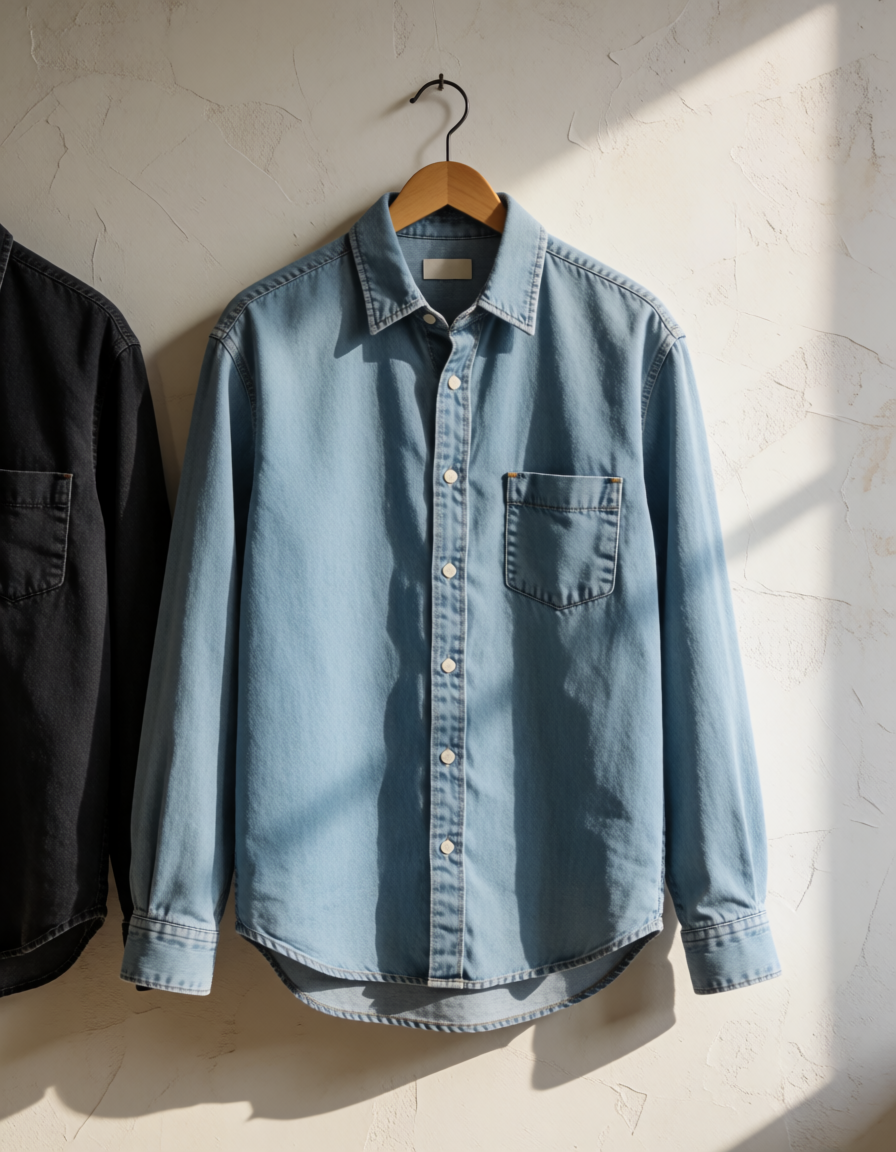
The official template includes a clothing-transfer example with two downloadable inputs:
Upload the portrait to image_1 and the shirt to image_2. Keep the template's provided instruction to reproduce its intended setup, or use this shorter original instruction:
Dress the person in <image1> in the light-blue denim shirt shown in
<image2>. Preserve the person's face, hairstyle, pose, body proportions,
background, and lighting. Match the shirt's collar, pockets, seams,
and color, with natural fabric folds.
The placeholders <image1> and <image2> refer to the connected inputs. Image order is part of the instruction: reversing the two inputs changes what those references mean.
For additional references, add LoadImage inputs and connect them to the corresponding exposed reference sockets. Increase the number gradually and describe each reference's role. Stay within the model's documented ten-reference scope even if a newer generic node interface exposes more sockets.
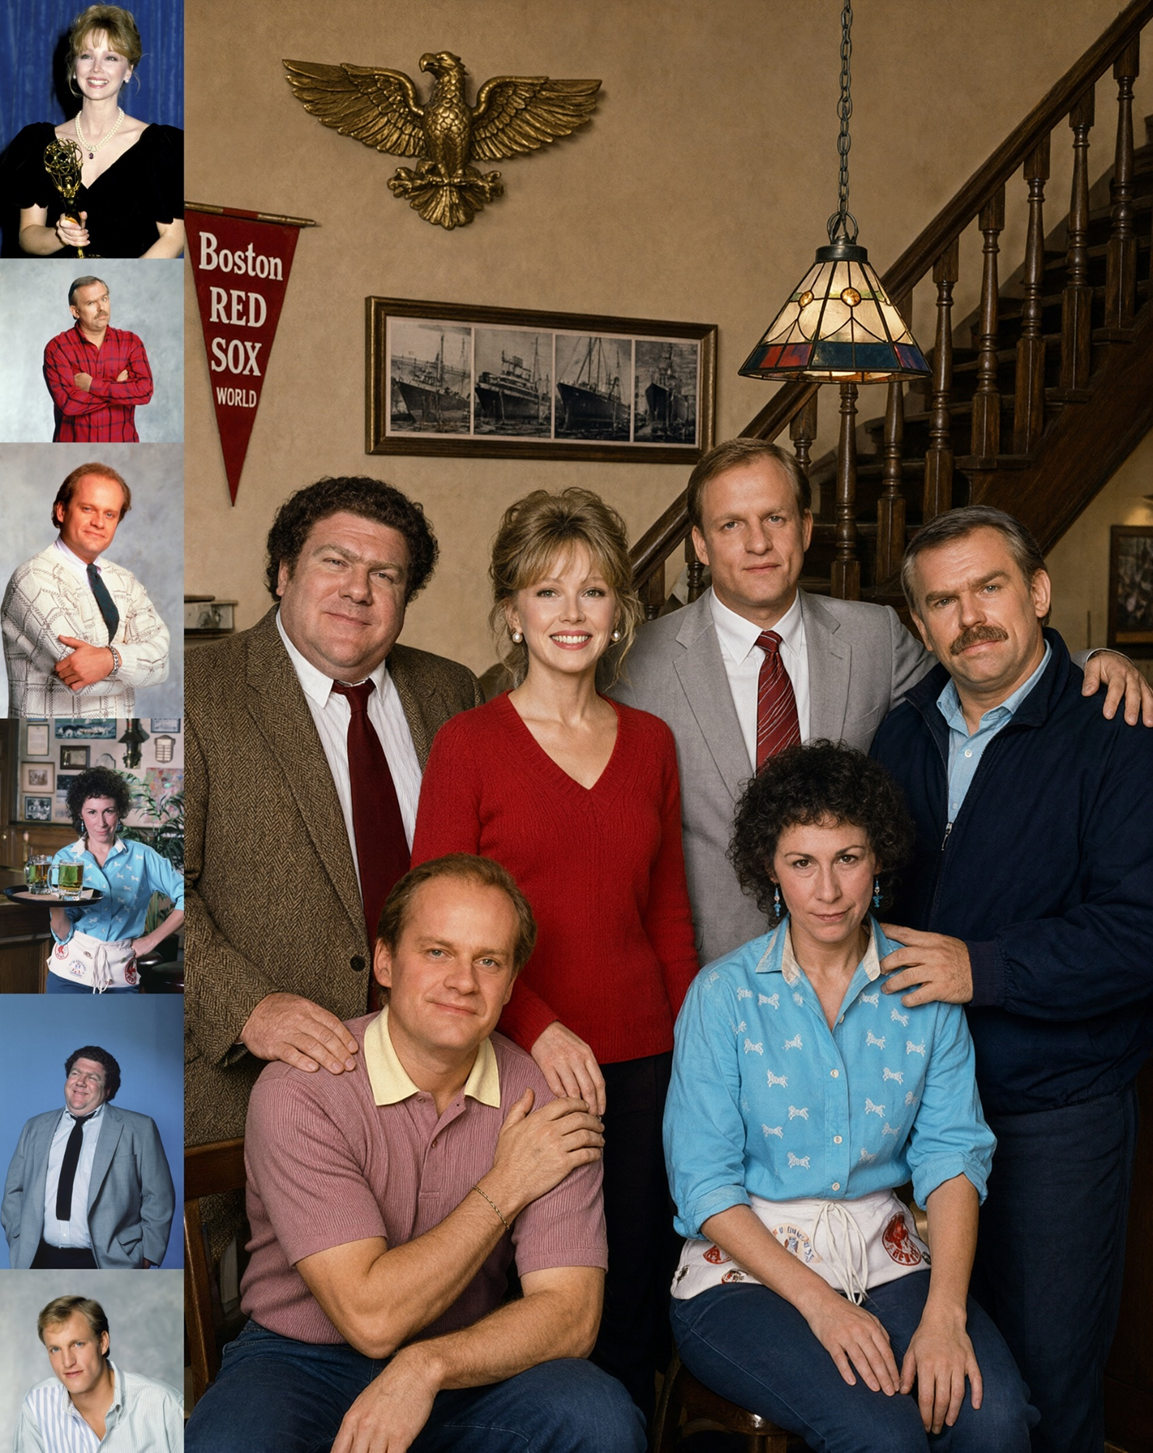
Source: Qwen Team, official Qwen-Image-2.1 model-card showcase. The left column contains reference portraits; the larger scene is the publisher's generated example. This is not a result produced for this tutorial.
For a local edit, separate “change here” from “keep everything else”
Qwen describes editing with annotations or a separate mask. A practical experiment is to supply the original as <image1> and an annotated copy as <image2>, then explain the marked region and requested change. Treat that as an instruction-following test. If unchanged pixels must remain exactly identical, verify the result and use explicit compositing outside the edited region; a preservation prompt alone is not a pixel-lock guarantee.
6. Generate a transparent PNG and verify the alpha channel
RGBA stores red, green, blue, and alpha; alpha is the channel that controls transparency. A picture of a checkerboard is not proof of transparency.
Qwen documents native transparent generation. In the text-to-image workflow, use a prompt that explicitly requests RGBA and a transparent background. For example:
Create an RGBA image with a transparent background: a friendly orange
fox sticker holding a small green leaf, centered, full body visible,
clean rounded shapes, crisp silhouette, no lettering. Keep the area
outside the fox and leaf transparent in the alpha channel.
Leave the output in PNG format and preserve the default decode-to-save connection. The official template uses SaveImageAdvanced; its PNG path supports four-channel image data in the ComfyUI image-node implementation.
Check the downloaded file in an image editor by placing it over both a dark and a light background. Look for an opaque rectangle, a baked-in checkerboard, and bright fringes around the silhouette. Keep a PNG master rather than converting the result to JPEG.
For an optional technical check, use Pillow in a separate Python environment where it is installed:
from PIL import Image

image = Image.open("your-output.png")
print("Mode:", image.mode)
has_alpha = "A" in image.getbands() or "transparency" in image.info
print("Transparency data present:", has_alpha)
if has_alpha:
    alpha = image.convert("RGBA").getchannel("A")
    print("Alpha range:", alpha.getextrema())
In that 8-bit alpha check, a range of (255, 255) means the image is fully opaque. A lower minimum means some pixels are at least partly transparent. This checks the file structure; visual inspection is still needed to judge edge quality.
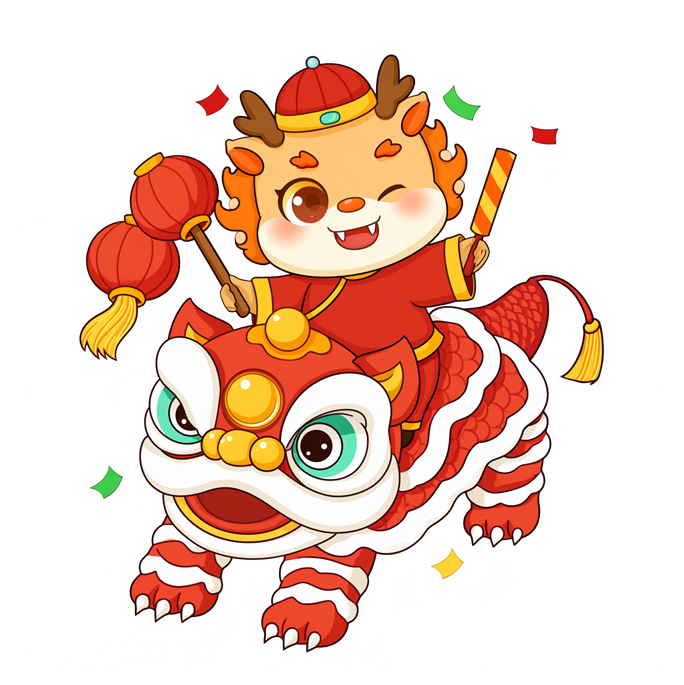
Source: Qwen Team, official native-transparency showcase. Publisher-supplied example; not generated from the fox prompt above.
7. Troubleshoot the problem at the stage where it occurs
Use the exact first error in the terminal or log, not just the red node shown on the canvas. ComfyUI's model troubleshooting guide explains missing-file, loading, and architecture-mismatch checks.
| Symptom | Check first | Next action |
|---|---|---|
| No Qwen 2.1 template appears | Code and template-package updates | Import the official raw JSON, then verify dependencies were updated in the environment you launch. |
TextEncodeQwenImage21 is missing | Core version or failed node import | Update core and dependencies, restart, and inspect startup errors. Installing an unrelated node pack does not replace this check. |
SaveImageAdvanced, ResolutionSelector, or a subgraph fails to load | Core/frontend compatibility | Reopen the official JSON after a complete update; check the first import error. |
| A downloaded model is absent from a selector | Actual file path and complete download | Check the three component folders, restart, and reselect the file. A .part file is unfinished. |
| Missing sample portrait or clothing image | LoadImage filename | Upload the linked sample assets or replace every connected sample input with your own image. |
| Tensor-shape or architecture mismatch | Diffusion model, encoder, and VAE combination | Return to the three exact files in section 2 and the unmodified official workflow. |
| Out of memory | Failure stage and workload size | Return to one output at 1024 × 1024; reduce reference count and reference resolution for editing. |
| Editing is much slower than text-to-image | Reference dimensions and reference count | Check whether resolution is still 0; test a single reference with a 1024 budget. |
| Output size ignores ResolutionSelector during editing | custom_size switch | With it off, the first encoded image determines the canvas. Enable custom sizing only when you intend to change that behavior. |
| Negative prompt seems ineffective | CFG | At CFG 1 it is unused. Establish the default baseline before testing different guidance. |
| Transparent output has an opaque background | Prompt and saved alpha | Use an explicit transparency instruction, preserve PNG output, and inspect the actual file's alpha channel. |
If multi-image editing still runs out of memory
The checked edit template includes a QwenImage21Cache node. It controls where cached reference information is stored and its precision. The official implementation marks this control experimental.
After reducing reference size and count, test one cache change at a time: compare auto with cpu, or test int8 storage instead of default. Record both runtime and visible changes. Do not apply several precision and cache changes together, because a successful run would not tell you which change helped.
If the same official workflow still fails, prepare a useful report: ComfyUI version or commit, OS, GPU and VRAM, system RAM, filenames, workflow JSON, output dimensions, reference dimensions, and the full error. Follow the official troubleshooting process to check custom-node interference before reporting a core bug.
8. Benchmark Qwen Image 2.1 ComfyUI on your actual workload
A speed number is only useful with its settings. This guide does not supply an invented GPU ranking or turn a publisher showcase into a hands-on benchmark.
Use three repeatable jobs: a 1024 × 1024 text-to-image generation, a one-reference edit at a 1024 reference budget, and a two-reference edit at the same budget. Keep the model files, prompt, step count, sampler, scheduler, and seed fixed while comparing a single setting.
Record the first run separately from subsequent runs. For a fresh sampling measurement, change the seed between timed repeats; running an identical graph may reuse cached results. Compare the same seed sequence across configurations.
| Record | Why it matters |
|---|---|
| GPU, VRAM, system RAM, OS, and ComfyUI build | Makes the environment identifiable |
| Diffusion model, encoder, and VAE filenames | Identifies precision and component choices |
| Output dimensions and reference dimensions/count | Defines the actual image workload |
| Steps, sampler, scheduler, CFG, and cache settings | Makes the generation configuration reproducible |
| Total time, including encoding and decoding | Reflects how long the user waits |
| First-run time and median of three later runs | Separates startup costs from subsequent use |
| Visible quality and edit-preservation problems | Prevents a faster but worse result from winning by default |
For editing, inspect identity, object shape, text, and unchanged areas alongside speed. This is also the fair way to decide whether 2.1 improves your current workflow: use the same task and input images rather than unrelated showcase pictures.
9. Qwen Image 2.1 ComfyUI pricing and commercial use
For the local native workflow described here, you download and execute weights rather than call a paid image API. Your practical costs are hardware or rented compute, storage, and electricity. There is no single per-image local price that applies to every setup.
Licensing is a separate question. As checked on September 21, 2026, the Qwen Research License restricts the granted use of the model materials to research or evaluation and requires a separate license for commercial use. It provides [email protected] as the commercial-license contact.
That matters if your goal is a paid asset pipeline or client production. Evaluate the technical workflow, then confirm the licensing route for the intended business use. Downloadable weights should not be described as unrestricted commercial permission. Hosted services may have separate fees and terms; check the particular service rather than transferring local-use assumptions to it.
Frequently asked questions
Do I need different models for generation and editing?
The checked ComfyUI templates select the same diffusion model, encoder, and VAE. The image-edit workflow adds reference inputs and conditioning. Start with the template for the task instead of replacing isolated nodes in an older workflow.
Can I reuse my old Qwen Image Edit workflow or LoRAs?
This guide has not established compatibility with older workflows, LoRAs, or acceleration adapters. Load the official 2.1 template first. Add an adapter only when its publisher explicitly documents compatibility with this model version, and test its effect against the working baseline.
Is a smaller quantized file always faster?
No speed conclusion follows from file size alone. Compare complete runs on your hardware, including encoder and decoding time, before choosing a variant for routine use.
Why does the template show fewer nodes than a tutorial screenshot?
Several nodes may be inside a subgraph. Enter it to inspect the loaders and internal controls. A simplified canvas can still contain the full workflow.
What should I do first after installation?
Run the official text-to-image template at one megapixel, save the result and workflow, and then try a single-reference edit. A verified local baseline makes every later change easier to diagnose.
Start with one reliable workflow
The strongest starting point for Qwen Image 2.1 ComfyUI is the official INT8 configuration, the matching encoder and VAE, and a single 1024 × 1024 output. Once that works, test a controlled edit and a transparent PNG before expanding to larger or multi-reference jobs.
Keep the workflow that succeeded, record the conditions, and increase complexity one step at a time. That gives you a practical answer to the question behind the search: whether this model can perform your image task reliably in your own setup.