Remove an unwanted color from an uploaded image while preserving important subjects, edges, texture, and lighting.
AI Image Tools
Everything You Need to Edit Photos Faster
Open the PicEditor AI tools library for background removal, photo enhancement, object cleanup, face swap, upscaling, and more focused image workflows.

AI Blemish Remover
FLUX 3 Image Klein

Ideogram 4.5
AI Portrait Retouching

Snatched Waist Editor
AI Facial Expression Changer

AI Texture Generator

AI Nose Piercing Filter
Replace Object in Photo Online
Add Object to Photo
Eyeliner Filter
AI Bust Down Filter

Image Splitter

Add White Background to Photo
Snapchat Text Remover
Realistic AI Skin Generator

Add speech bubble to photo
Change Photo Background
AI Clothes Wrinkle Remover
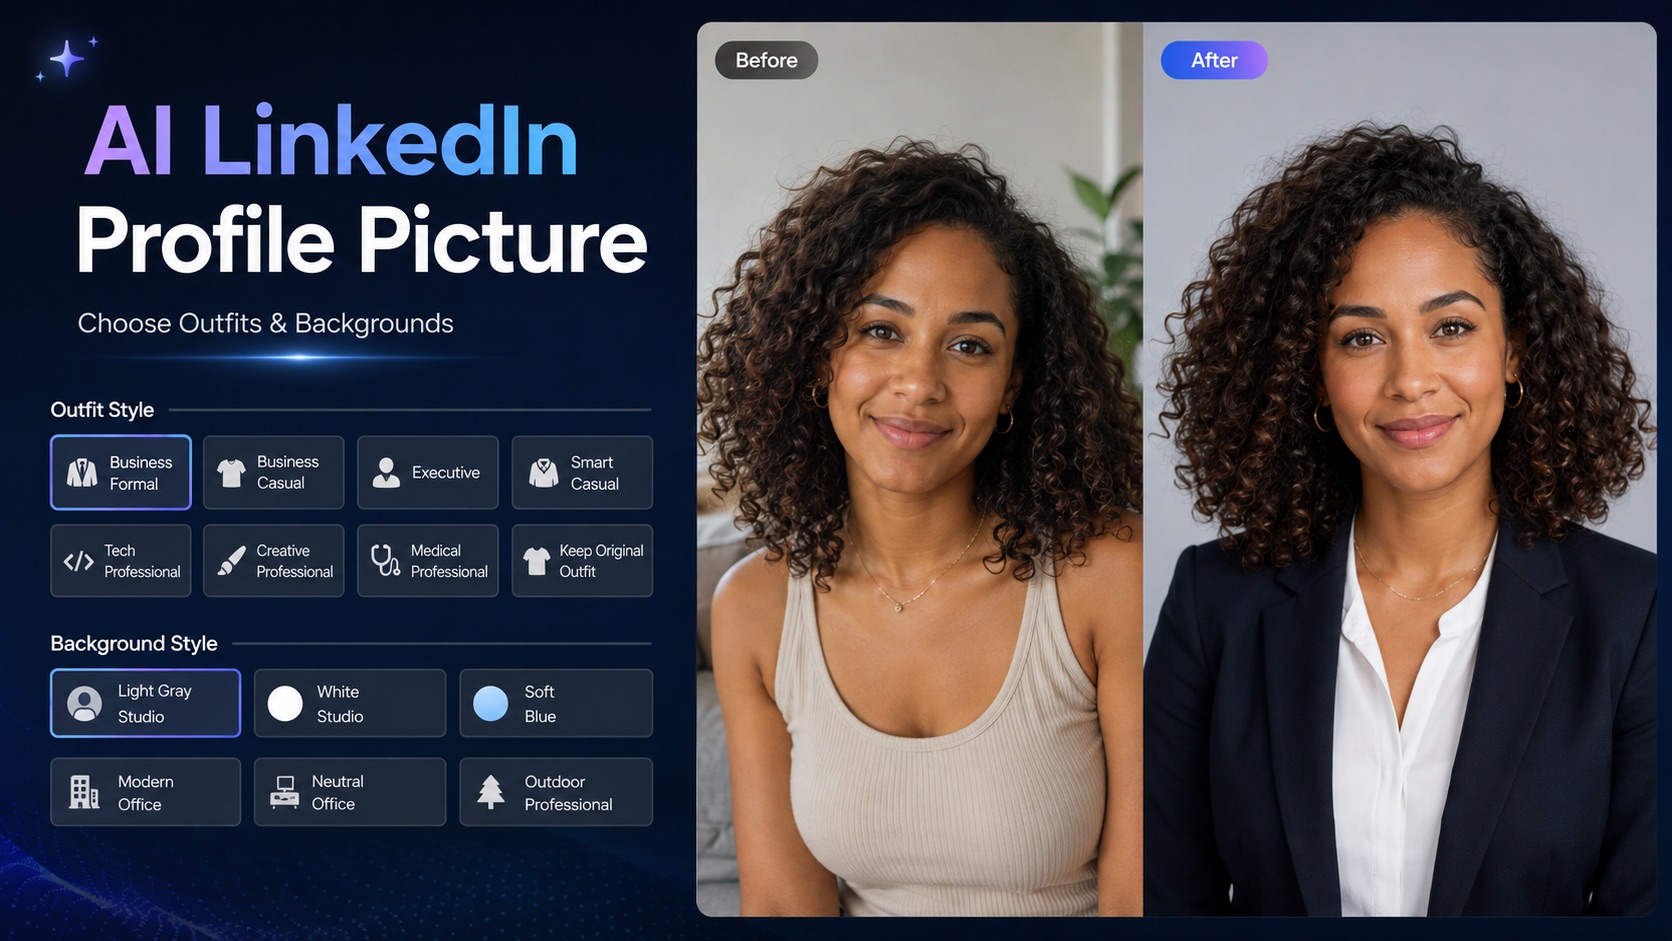
AI LinkedIn Profile Picture
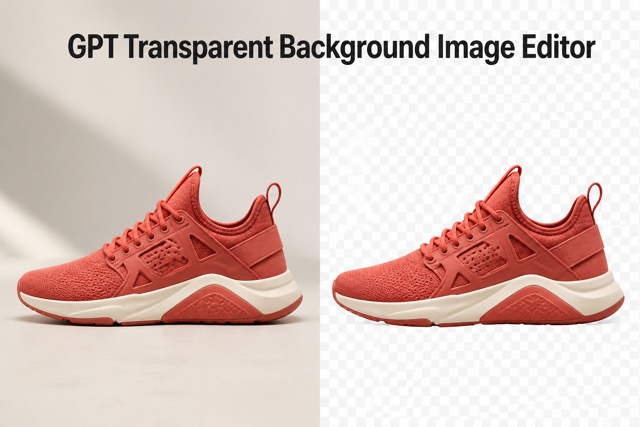
GPT Transparent BG Image Editor
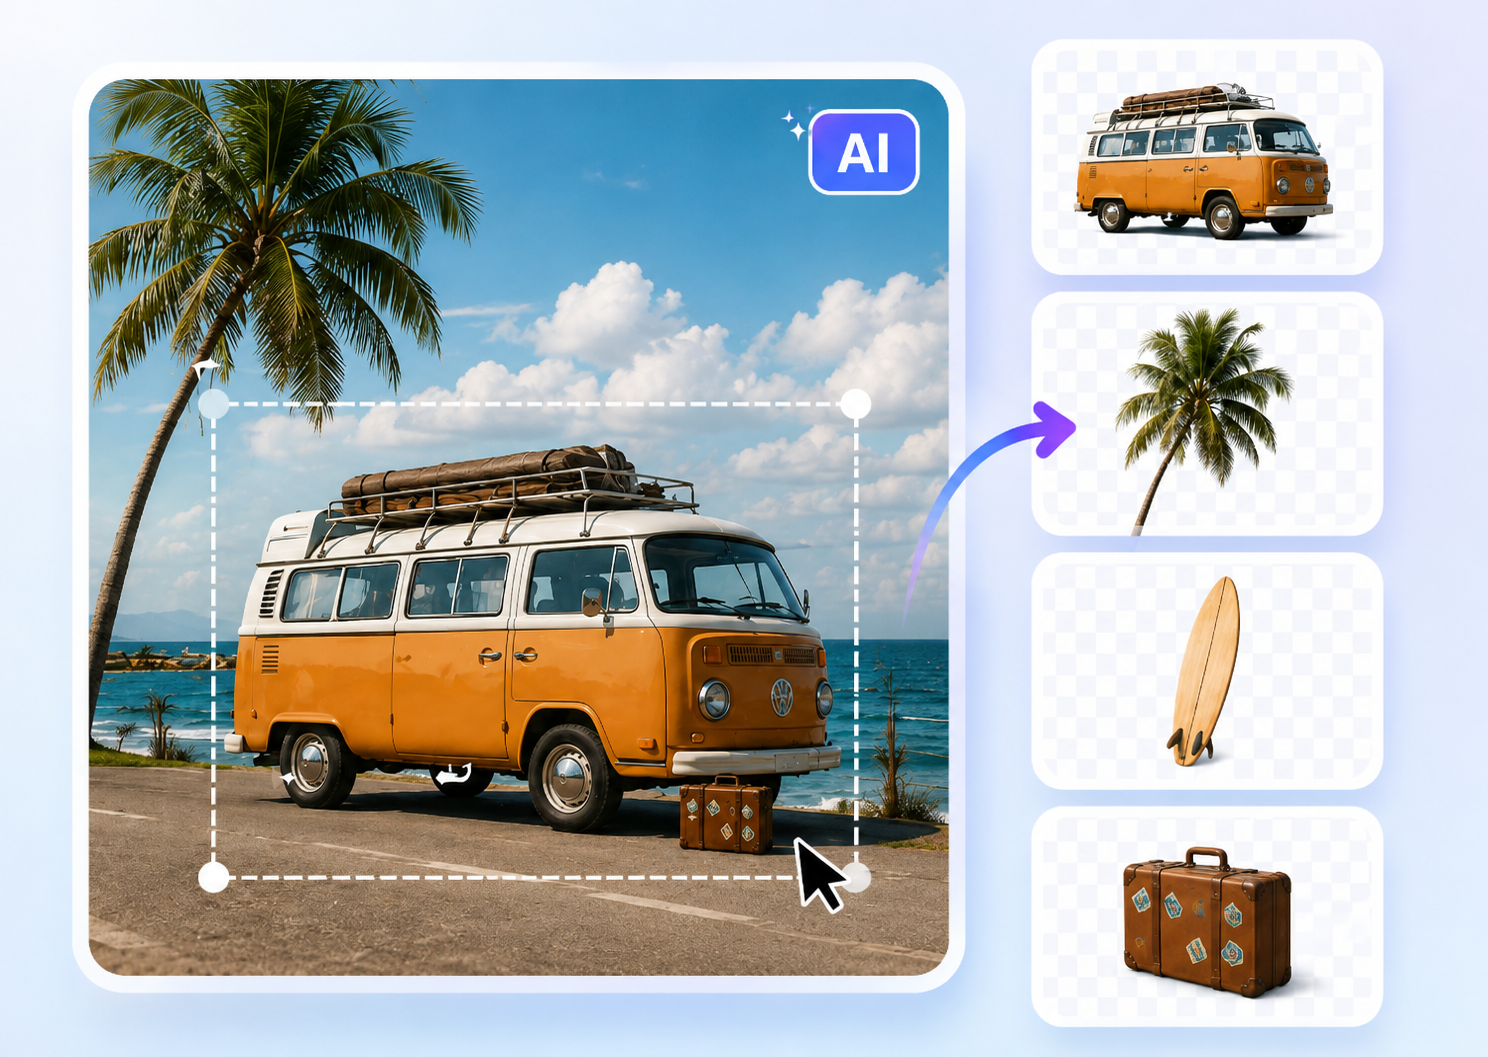
Image to Layers
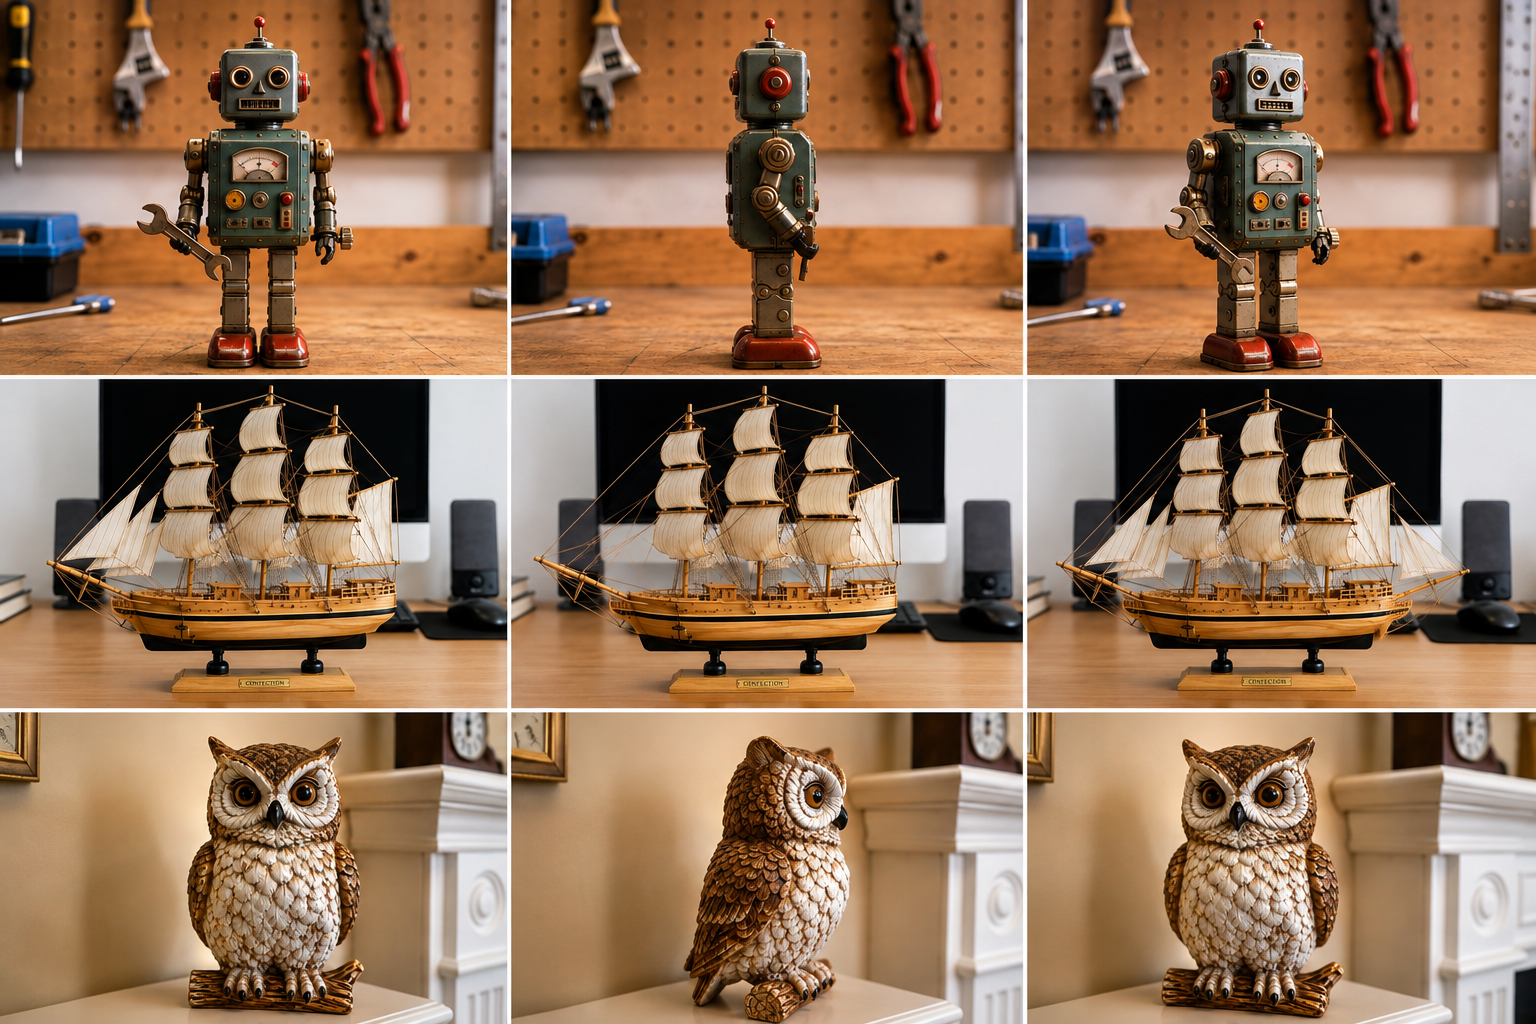
3D Angle Editor

Change Background of Photo
Remove Color From Image Online
Make selected colors disappear for cleaner, more flexible visuals
Use Remove color from image to target an unwanted hue while keeping the rest of your picture visually intact. Upload a photo, describe the color you want gone, review the result, and download an edited image for design, product, or creative work.
How to Remove Color From Image in Three Steps
Remove color from image without building a complicated selection by hand. Start with a clear source, identify the hue or colored area, and inspect the output before using it in your project.

Upload Your Image
Choose a photo or graphic you are allowed to edit. For the cleanest Remove color from image result, use a sharp file where the target color is easy to distinguish from nearby details.

Describe the Color
Tell the tool which hue or colored object should change. Be specific about location, shade, and what must remain untouched so Remove color from image has a clear editing goal.

Review and Download
Compare the edited image with the original, zoom in around edges, and confirm that important colors remain. Download the Remove color from image output only after the result fits your intended use.
A Practical Way to Remove Color From Image
Remove color from image for product shots, social graphics, artwork, and everyday photo cleanup. The best edits combine a precise instruction with a careful visual review.
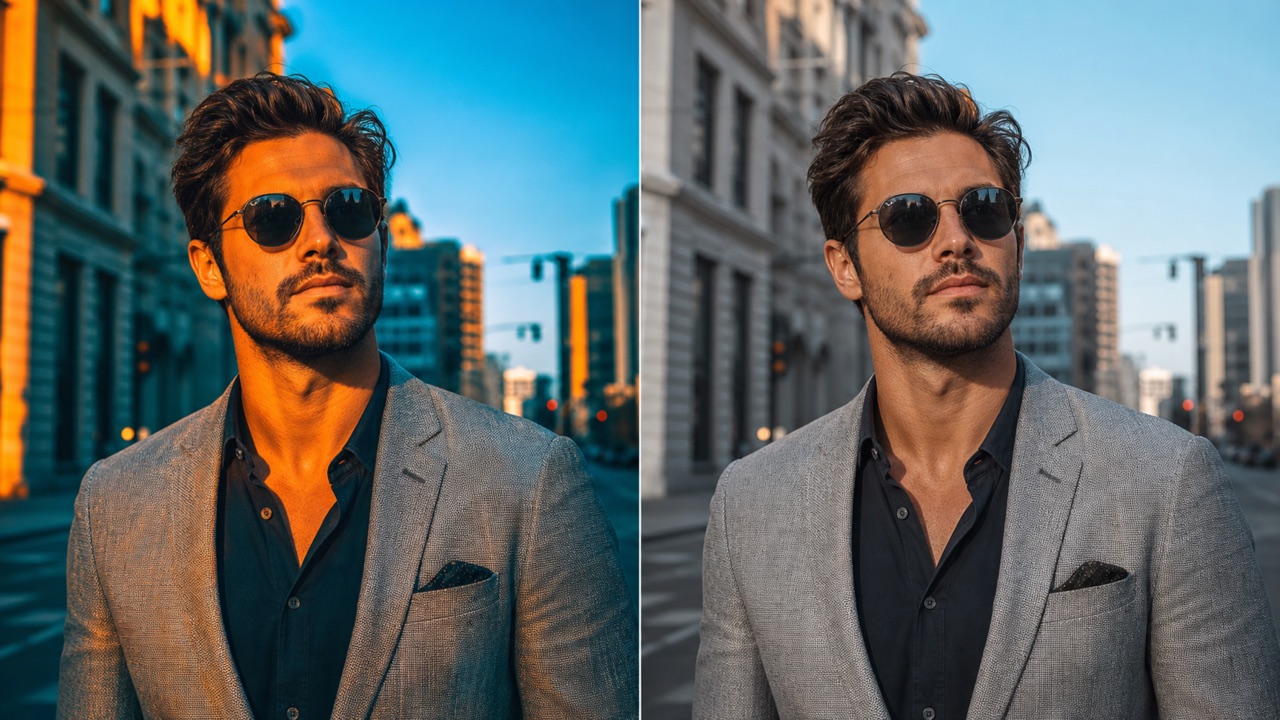
Target One Unwanted Hue with Clear Instructions
Remove color from image works best with precise instructions. Instead of simply writing 'remove blue,' specify 'the blue wall behind the person.' This helps separate the intended change from colors that should stay. Remember that lighting and shadows create variations of a single color; describe these variations if needed. Use a high-contrast source image and carefully compare the edited file to the original to ensure only the target hue was removed.
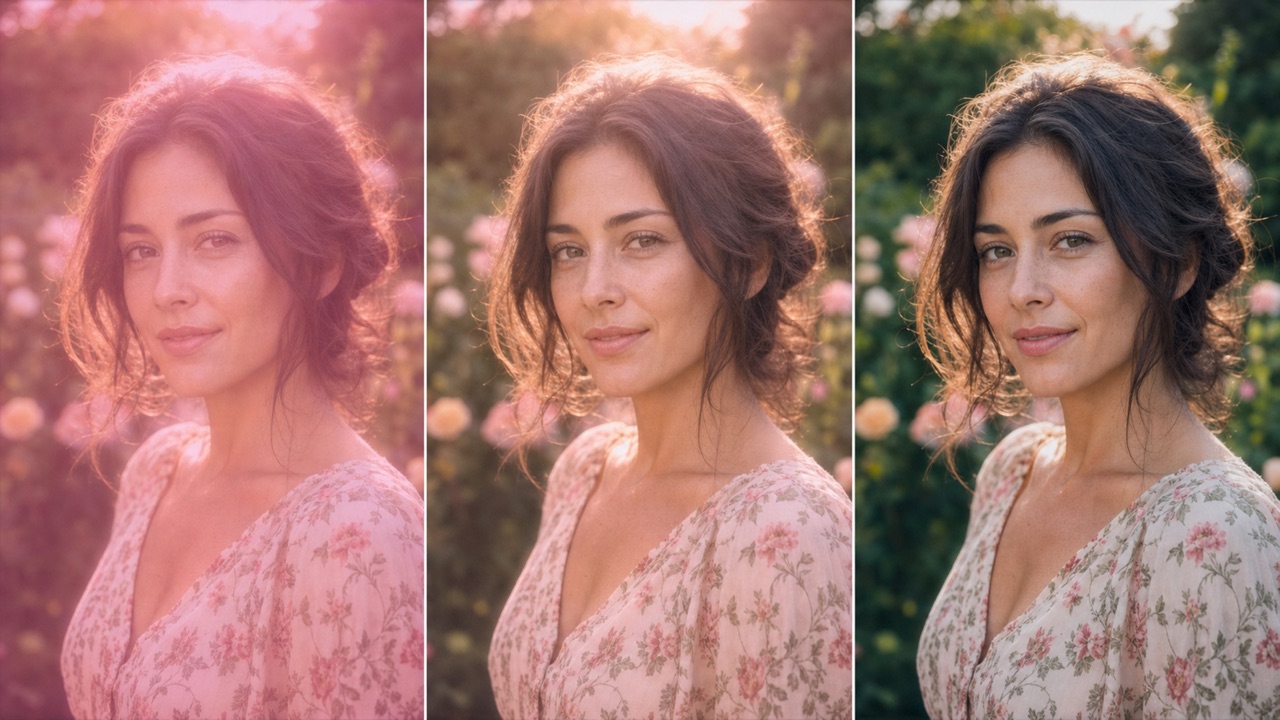
Preserve Edges, Texture, and Important Details
A useful edit does more than erase a hue; it protects shapes, textures, and lighting. Decide what the target color should become—such as a neutral gray or a muted tone. Pay close attention to boundaries like hair, fabric, or soft shadows where colors blend. Inspect these transitions at high zoom for halos or jagged outlines. Thoughtful preparation ensures the tool maintains the visual character of the original image.
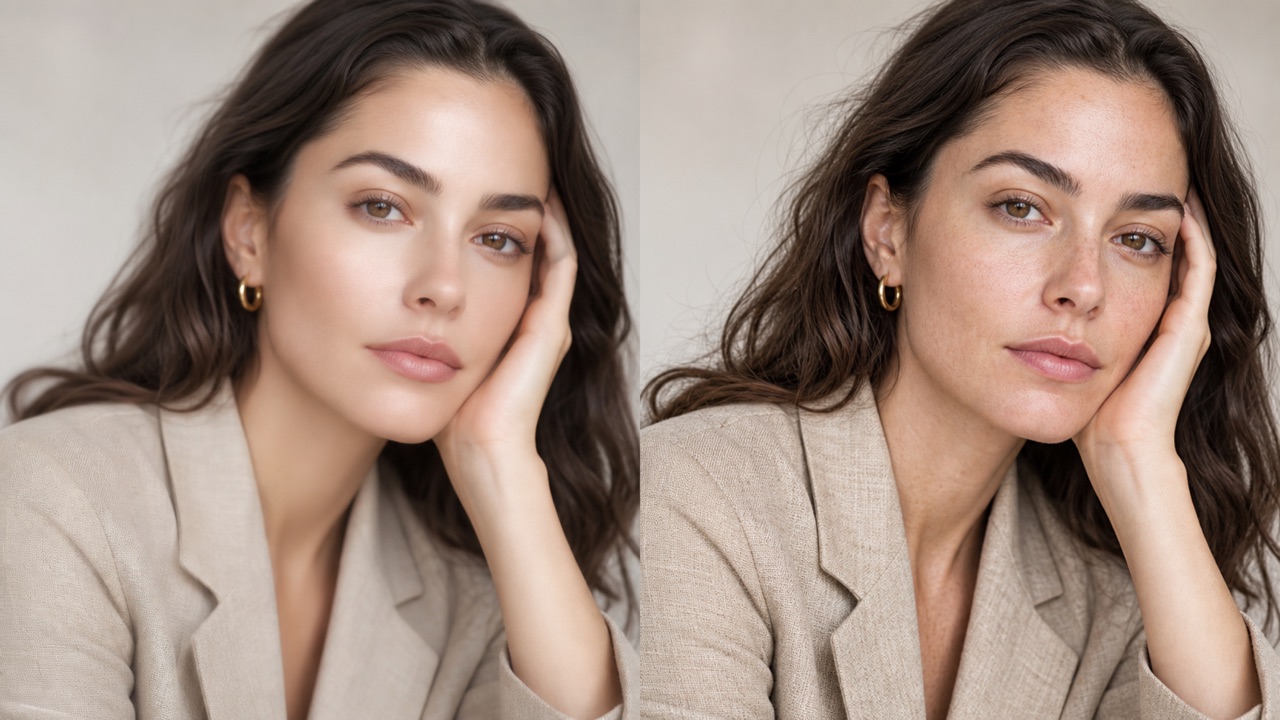
Prepare Cleaner Product and Marketing Assets
Simplify busy product photos or adapt assets for new campaigns by removing unwanted colors. For product imagery, ensure silhouettes, labels, and natural shadows stay accurate so customers aren't misled. Reserve open space for marketing copy instead of having the AI generate it. Always use the edited picture as a draft until it passes a full quality and rights review, comparing color appearance across different screens for consistency.
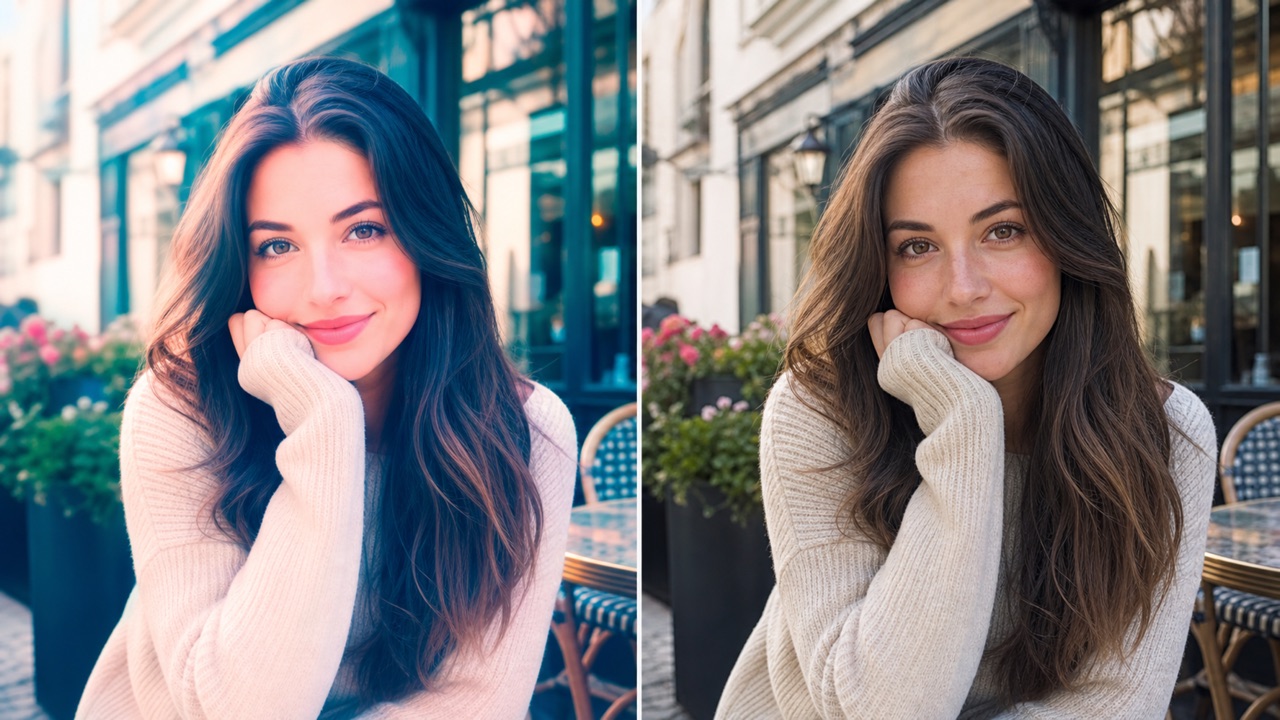
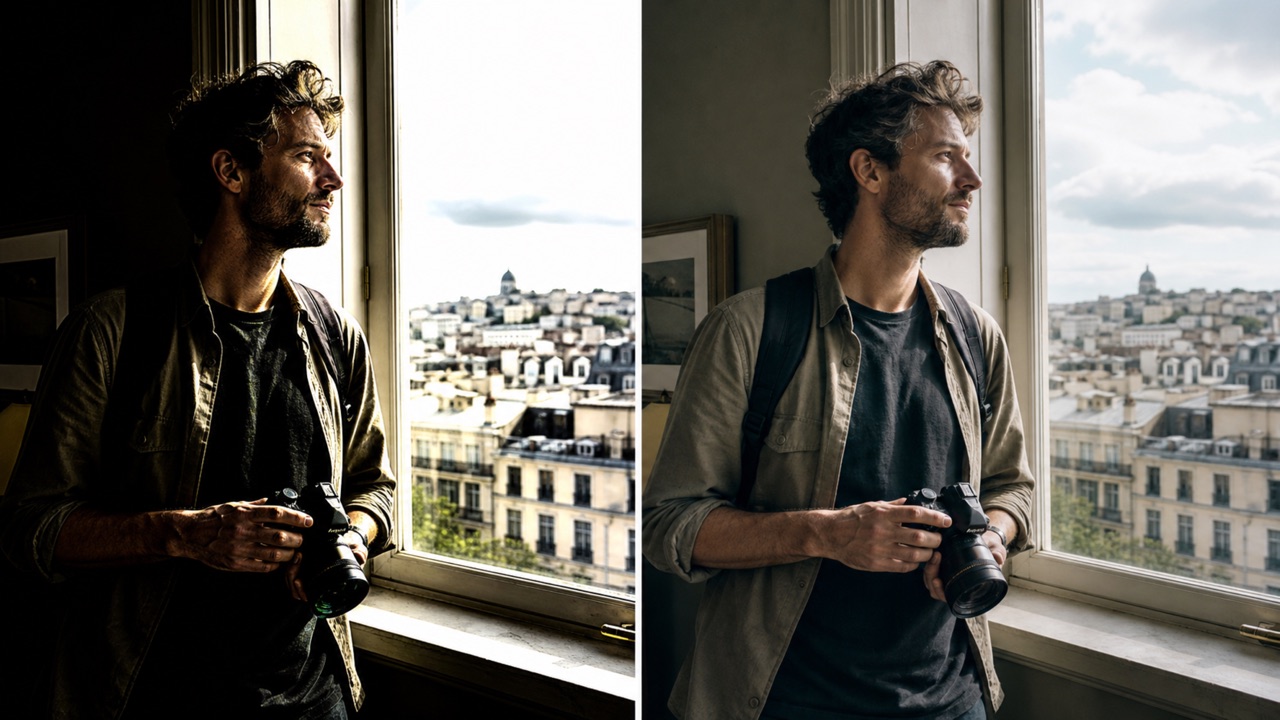
Compare the Original and Edited Versions
Comparing the original and edited versions side-by-side is the clearest way to judge results. Keep the framing consistent to easily spot accidental changes in subjects or lighting. Check that the requested hue changed, protected details remain intact, and the background lacks unexpected smudges or patterns. When sharing for commercial review, keep labels outside critical details and retain the source history to support responsible feedback.
Where to Use Remove Color From Image
Remove color from image across design, ecommerce, content creation, and personal projects. Always edit files you have permission to use and review the output before publishing.
Ecommerce Product Photo Cleanup
Reduce distracting background hues or test simpler presentations for online catalogs. Start with a high-resolution photo and clearly identify the target color's exact location. After editing, verify that product dimensions, logos, textures, and shadows remain strictly accurate. The edit should never imply a different feature or material. Pay extra attention to transparent packaging or metallic edges.
Social Media and Campaign Variations
Neutralize colors that clash with a social post, seasonal campaign, or specific visual system. Write focused instructions to protect people, clothing, logos, and meaningful colors. Build the asset at the correct crop for its destination and check edge quality. Add final typography later in a dedicated layout tool. Used responsibly, this helps explore multiple visual directions efficiently.
Artwork, Collage, and Mood Board Preparation
Eliminate dominant hues before combining photos into collages or mood boards to reveal shapes more clearly and create room for a new palette. Preserve textures like brushwork or grain so the edited region doesn't feel digitally flat. Ensure removing a color supports your concept, respect source licenses, and test the result within the context of the full composition.

Personal Photos and Everyday Visual Fixes
Clean up personal photos by removing distracting colored signs, cables, or stains that draw attention away from your subject. Keep instructions local and inspect faces, hair, and clothing patterns carefully to avoid altering identity. Save both versions and check for faint tints or edge halos on a larger screen to keep the memories authentic.
How Creators Use Remove Color From Image
These illustrative comments describe possible workflows and are not verified customer endorsements.
Remove color from image helped me test a cleaner product-photo direction before final retouching. The side-by-side review made it easy to spot edge issues and protect the label.
Remove color from image helped me test a cleaner product-photo direction before final retouching. The side-by-side review made it easy to spot edge issues and protect the label.
I used Remove color from image to quiet a bright wall that competed with social copy. Keeping typography outside the generated artwork gave me much better control.
I used Remove color from image to quiet a bright wall that competed with social copy. Keeping typography outside the generated artwork gave me much better control.
For an early collage study, Remove color from image let me compare palette options without rebuilding the composition. I still kept the original file for reference.
For an early collage study, Remove color from image let me compare palette options without rebuilding the composition. I still kept the original file for reference.
A precise prompt was essential. Remove color from image worked more clearly when I named the object, shade, and nearby colors that needed to remain untouched.
A precise prompt was essential. Remove color from image worked more clearly when I named the object, shade, and nearby colors that needed to remain untouched.
I tried Remove color from image on a personal portrait with one distracting sign in the background. Zooming in before download helped me catch a small halo.
I tried Remove color from image on a personal portrait with one distracting sign in the background. Zooming in before download helped me catch a small halo.
Remove color from image gave our pitch team a fast neutral-background concept. We treated it as a draft and completed product accuracy checks before presenting it.
Remove color from image gave our pitch team a fast neutral-background concept. We treated it as a draft and completed product accuracy checks before presenting it.





Remove Color From Image FAQ
Learn how to prepare, prompt, inspect, and responsibly use an edited image.
Remove color from image helps you target an unwanted hue or colored area in a picture. Describe the color, its location, and what should replace it, then review the generated edit. Results can vary with lighting, texture, transparency, and how often the same hue appears elsewhere, so compare the output with the source before using it.
Name the shade, object, and location as specifically as possible. For example, ask Remove color from image to neutralize the bright green sign behind the subject while preserving green eyes and plants. Mention shadows, reflections, or nearby similar colors when they matter. A narrow instruction usually makes the intended edit easier to evaluate.
The goal is to limit the change, but generated edits may affect nearby pixels or repeated colors. After Remove color from image, inspect faces, text, logos, product details, edges, shadows, reflections, and background texture. If unrelated details shift, try a more precise instruction, a clearer source image, or a tighter crop around the target area.
You can prepare a creative draft with Remove color from image, but you remain responsible for rights, permissions, product accuracy, disclosure, brand approval, and destination-platform rules. Keep the source file, verify that the edit does not misrepresent the item, and complete any required professional review before publishing commercial content.
Compare the original and Remove color from image output at the same crop and scale. Confirm the target hue changed, then zoom in around fine edges and protected details. Look for halos, smudges, flat texture, repeated patterns, altered text, and unexpected color shifts. Also review the image at its real display size before downloading the version you want to use.
Remove Color From Image for a Cleaner Visual
Upload an image, describe the hue you want to change, and review a focused edit for your next creative project.